
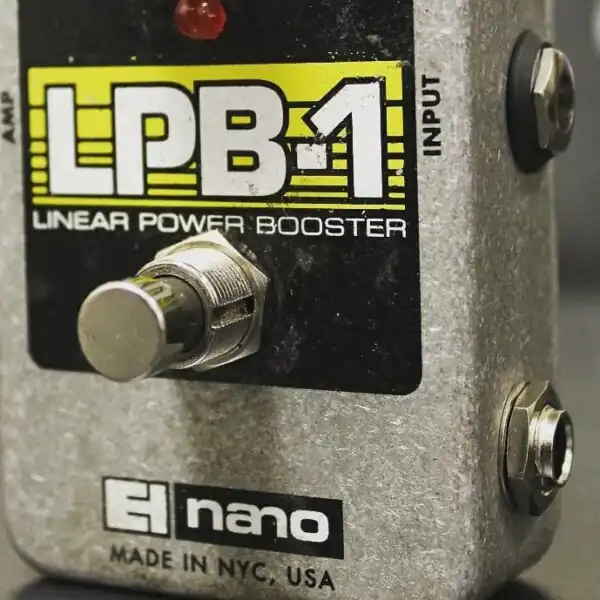
The Electro Harmonix LPB-1 has been a staple on my board for quite some time. The circuit is easy to understand, lending itself as a key starting point for those interested in modifying guitar pedals.
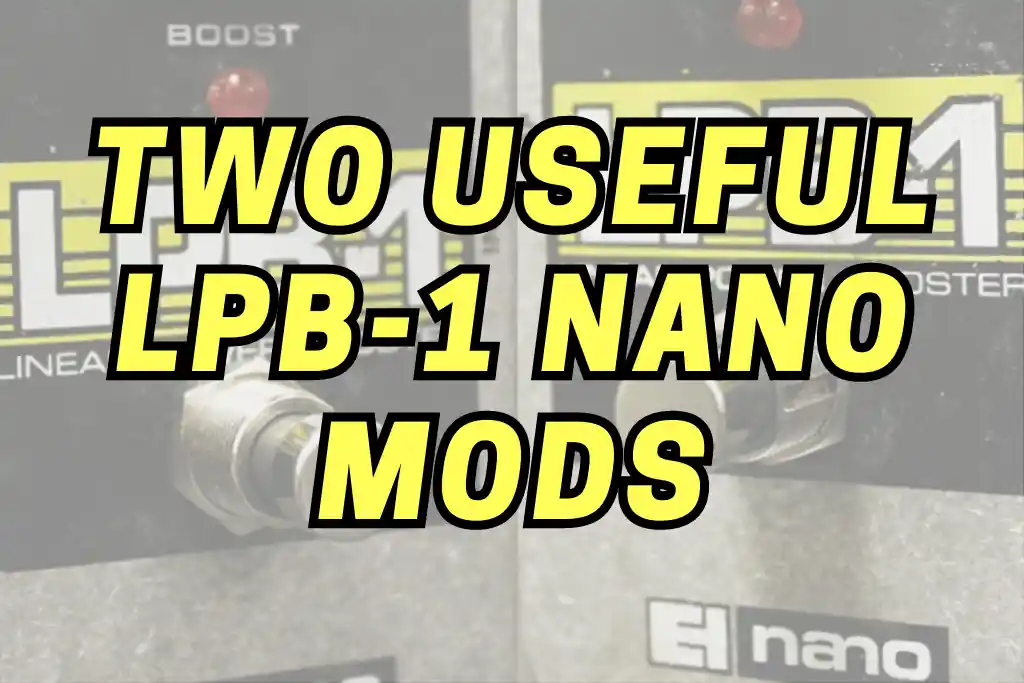
In this article, we go over two EHX LPB-1 mods that will make it a useful addition to your pedalboard.

As a member of the Reverb Partner Program, eBay Partner Network, and as an Amazon Associate, StompboxElectronics earns from, and is supported by, qualifying purchases.
Disclaimer: Stompbox Electronics and/or the author of this article is/are not responsible for any mishaps that occur as a result of applying this content.
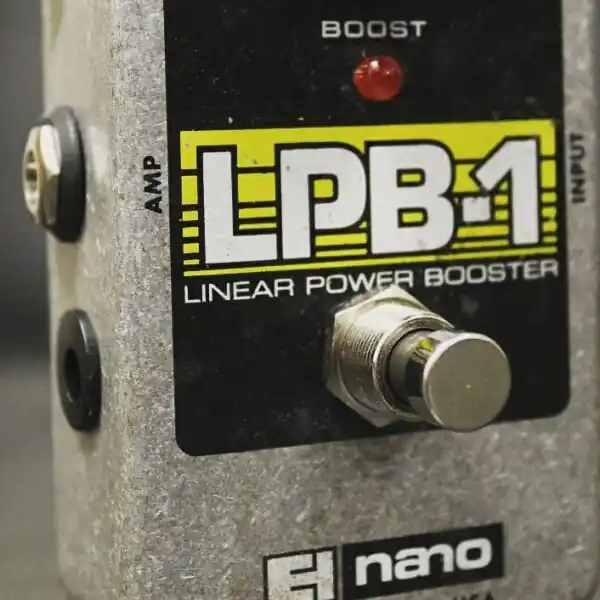
The Electro-Harmonix LPB-1
The Electro-Harmonix LPB-1 Nano is a compact boost pedal that injects clean, linear power into your guitar signal.
Whether you’re pushing an amplifier to get that sweet break-up, or overdriving your dirt pedals for optimal gain, the LPB-1 is a great choice. The Nano version is the smaller, more compact version of the initial LPB-1 Electro-Harmonix, which was first released in 1968.
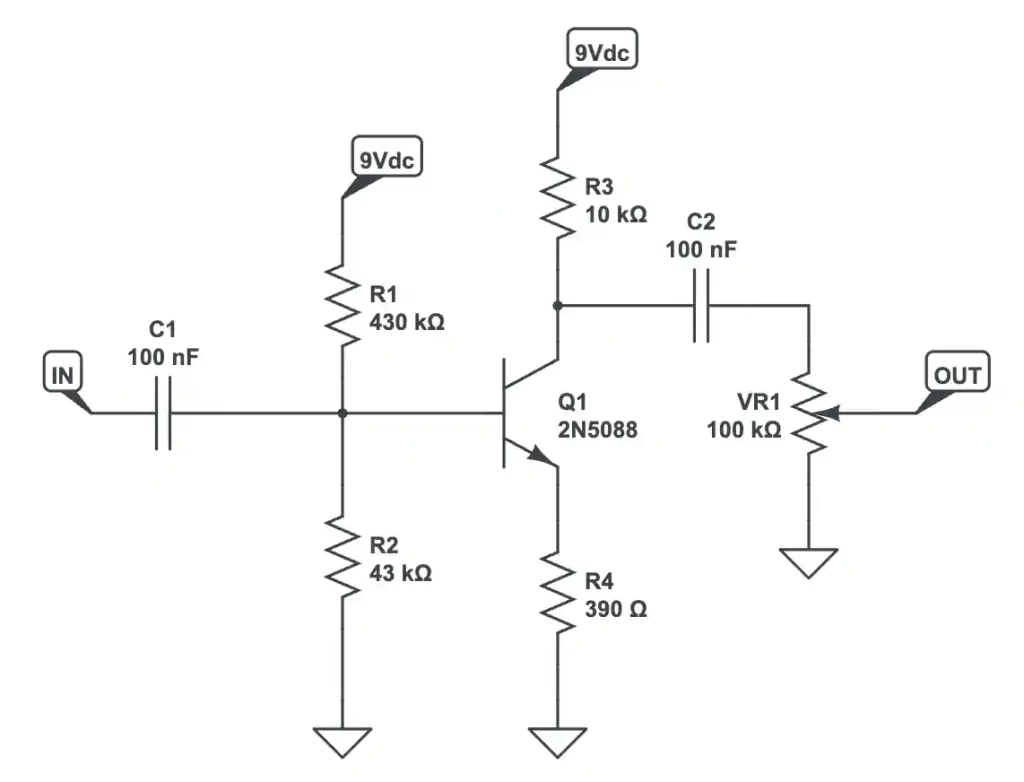
The LPB-1 Circuit
The modifications in this article do not require you to know how the circuit works. That said, if you have an interest in more involved modifications, I have a write-up specifically on the LPB-1 circuit that outlines some potential modification opportunities throughout the article.
Some of those modification ideas include:
- Removing C4 and C5 from the circuit board for “more clarity.”
- Experimenting with different transistors, such as the 2N3904 and other NPN BJTs, to see how it affects the tone.
- Replacing C1 and C2 with higher capacitance values to make the LPB-1 bass-friendly.
Modifying the LPB-1: Is it worth it?
There are many people that don’t like having their pedals modified for a variety of reasons. Some include the fear of lowering the resale value, breaking the pedal, or voiding the warranty. There’s also a paralyzing amount of boost pedals out there, which can render these particular modifications unnecessary.
That said, modifying your guitar pedal is worth it for two reasons. The first is that it’s fun to do. The second is that it works for you.
That’s especially the case for the LPB-1. With so many boosters out there, many guitarists who own an LPB-1 chose it because it’s a budget option. Budget pedals are the best pedals to modify, because you can add value to them that otherwise wouldn’t be there.
EHX LPB-1 Mods: Daisy Chain Modification
The current draw for the LPB-1 is less than 100mA, so you could easily daisy-chain it with other low-current pedals. But what if you don’t want to use a daisy-chain?
What if you’re using a power supply module and you have a spare 2.1mm power cable laying around? That’s where the Daisy Chain Mod comes in!
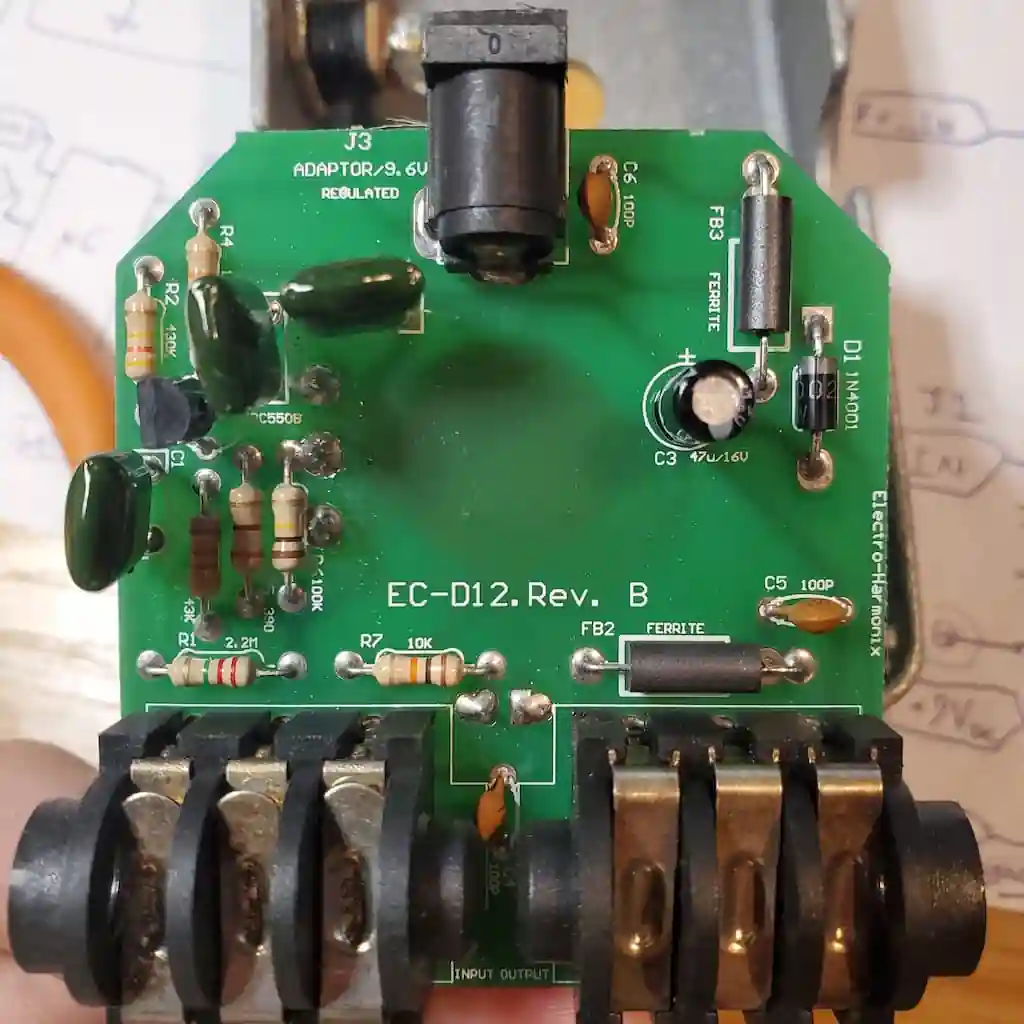
The Daisy Chain Mod involves installing a second power adapter plug and internally connecting it with the stock power jack.
If you’re using a multi-port power supply then this modification frees up an extra port, allowing you to power one other pedal on your pedalboard from the LPB-1.
Daisy Chain Mod Instructions
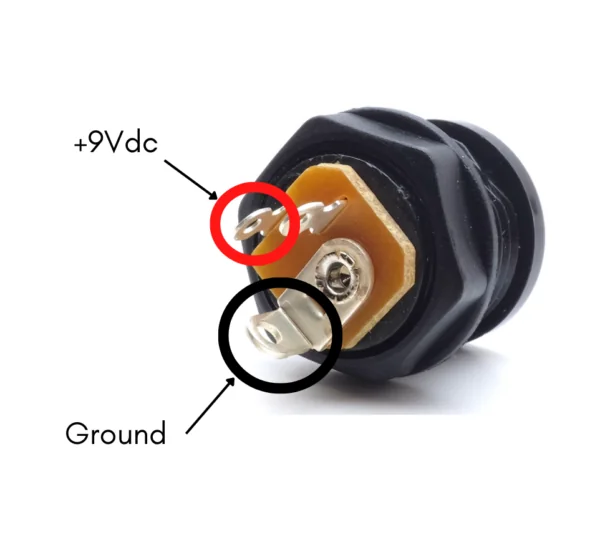
The steps for the modification are relatively simple, the most demanding part is drilling the hole. I usually place the new power connector on the output side, but you can choose for yourself.
The part pictured above is mounted in a 1/2″ hole. Be sure to follow good drilling practices, including deburring and using a pilot hole.
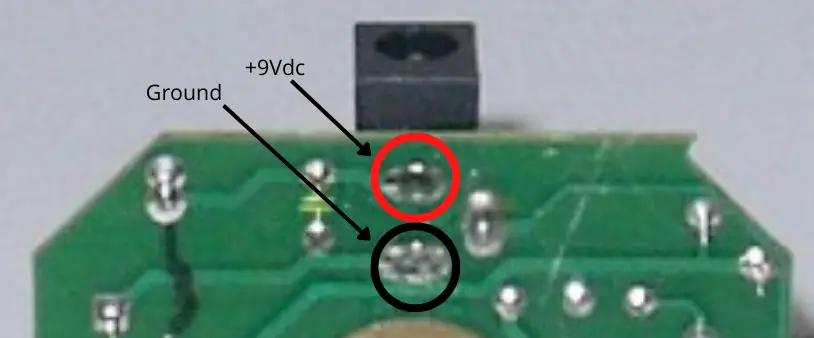
After the hole is drilled you can install the connector and solder the corresponding wires. Solder the +9Vdc to the sleeve lug (red) and the pedal’s ground to the tip lug (black), as pictured below.
EHX LPB-1 Mods: Dry Out Modification
Boost circuits are relatively simple. You input a signal and obtain an amplified version at the output.
We usually attribute the terms “wet” and “dry” to modulation effects. The “wet” signal is the one that’s modulated and the “dry” signal is a direct copy of the input signal.
I want you to apply that understanding to boost pedals: where the “dry” signal is the unamplified signal and the “wet” signal is the amplified output signal.
The Dry Out modification involves installing a 1/4″ jack. The dry signal is routed to that jack as a secondary, unaffected output.
Dry Out Mod Instructions
Drill out a hole for the 1/4″ jack (there is room on either side, so choose which side works best for your board). Connect the stock input jack’s tip lug to the tip of the newly installed jack. Likewise for the sleeve connection.
With this mod, you can choose to split your signal chain and apply separate effects to boosted and non-boosted signals. Afterwards you can choose to sum up the signal using an ABY mixer, or route them to separate amps for a stereo setup.
Of course, you aren’t limited to using the Dry signal. You could choose to route the amplified “wet” signal as a secondary output, as well.
Meet the Author:

Hi, I’m Dominic. By day, I’m an engineer. By night, I repair and modify guitar effects! Since 2017, I’ve been independently modifying and repairing guitar effects and audio equipment under Mimmotronics Effects in Western New York. After coming out with a series of guitar effects development boards, I decided the next step is to support that community through content on what I’ve learned through the years. Writing about electronics gives me great joy, particularly because I love seeing what others do with the knowledge they gain about guitar effects and audio circuits. Feel free to reach out using the contact form!
The Tools I Use
As a member of Amazon Associates, Stompbox Electronics earns and is supported by qualifying purchases.


