
When designing or modifying your own effects, you’ll need to mount parts like switches, potentiometers, LED bezels, power jacks, input jacks, and output jacks. This requires you, the builder, to properly size, fit, and mount the component into the enclosure. In the following sections I go over my personal process for drilling guitar pedal enclosures.

As a member of the Reverb Partner Program, eBay Partner Network, and as an Amazon Associate, StompboxElectronics earns from, and is supported by, qualifying purchases.
Disclaimer: Stompbox Electronics and/or the author of this article is/are not responsible for any mishaps that occur as a result of applying this content.
Tools for Drilling Guitar Pedal Enclosures
The Drill
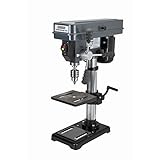
First, you’ll need a drill. I personally opted for a drill press, since I had the bench space. but many DIYers also use handheld drills. You can find a few recommendations for handhelds online; I acquired a Central Machinery 12-Speed Bench Drill Press from a local hardware store.
The Center Punch
A center punch allows you to physically mark where the center of the drill hole should be placed. Traditionally, this is done with a sharp-tipped object and a small hammer for marking the spot. These days, however, you can (and should) have an automatic center punch. They are relatively cheap and should be available at your local hardware store. The model I have is a Pittsburgh Pro Automatic Center Punch, which has been in my toolset for about 5 years and hasn’t failed me yet.

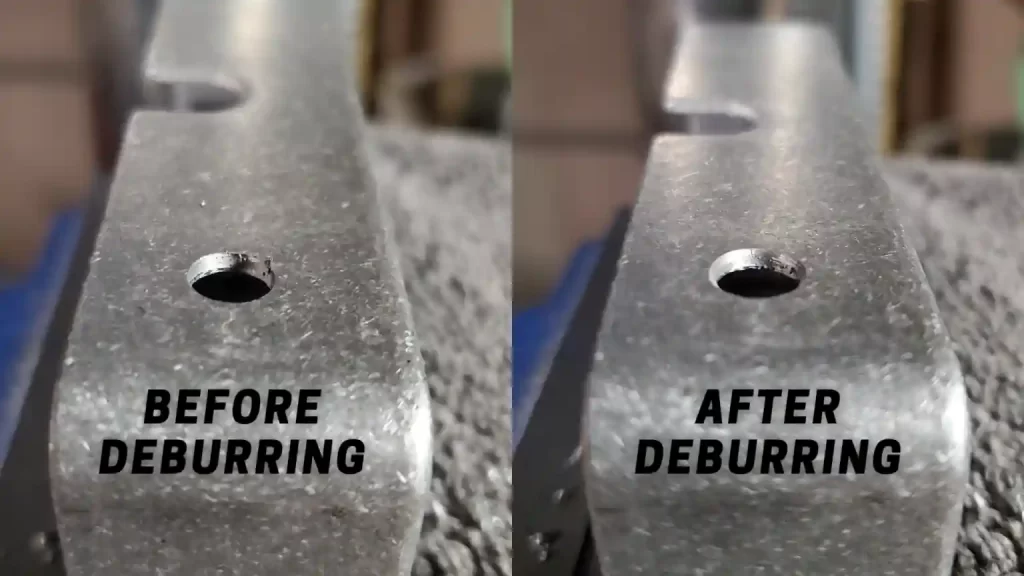
The Deburring Tool
When drilling into metal, the edges of the hole will be rough. The drill makes a perpendicular cut into the metal, leaving a sharpened edge. This is a hazard, so it is advised to deburr the hole edges using a deburring tool. The one I use is a General Tools Short Length Hand Reamer & Countersink and, like the center punch, I’ve been using it for years with no issues.

Drill Bits
There are a lot of considerations for choosing drill bits: type, materials, speed of drilling, etc. For drilling aluminum pedal enclosures, I went with the DeWALT 29-piece drill bit set. It has a wide range of sizes that have proven useful for every component I’ve encountered. Be it potentiometers, footswitches, bezels, or power connectors, the 29-piece set has all the sizes I’ve needed.
If purchasing a full drill bit set is not in the cards, then another route you can take is getting a stepper drill bit set. These are generally cheaper than a full bit set and include multiple “steps” of diameters on a single cone-shaped bit.
Lubrication Oil
Drilling into metal can often lead to mechanical seizures and heat. The heat alone can cause a lifespan reduction in your drill bits, which overtime are subject to deformation, if used often. In order to better the lifespan of your drill bits and reduce the possible number of metal seizures, you can use cutting lubrication oil. One good product I’ve used is the Evo Dyne Cutting Oil Fluid. Very little is required to get the full benefits, so a bottle is sure to last a while.

Steps for Drilling Guitar Pedal Enclosures
Step 1: Consider the Placement
First, you need to figure out where you are going to place the component. If you’re building a guitar pedal from scratch this isn’t too much of a problem since you can control the placement of all other components. If you’re modifying an existing pedal then this is a different story. You need to make sure the component will fit with the rest of the internal components.
You can usually “eye-up” the dimensions of the component to be mounted. In some cases you may need to make precise measurements, which can be done using a small ruler or a pair of calipers.
Step 2: Mark the Enclosure Drill Point
After verifying that the mounting position is correct and the component fits, you will need to mark the center point of the hole. For this, I simply use a black Sharpie marker. A strip of tape with a pencil can also be used. Be sure to double-check the position before moving on.
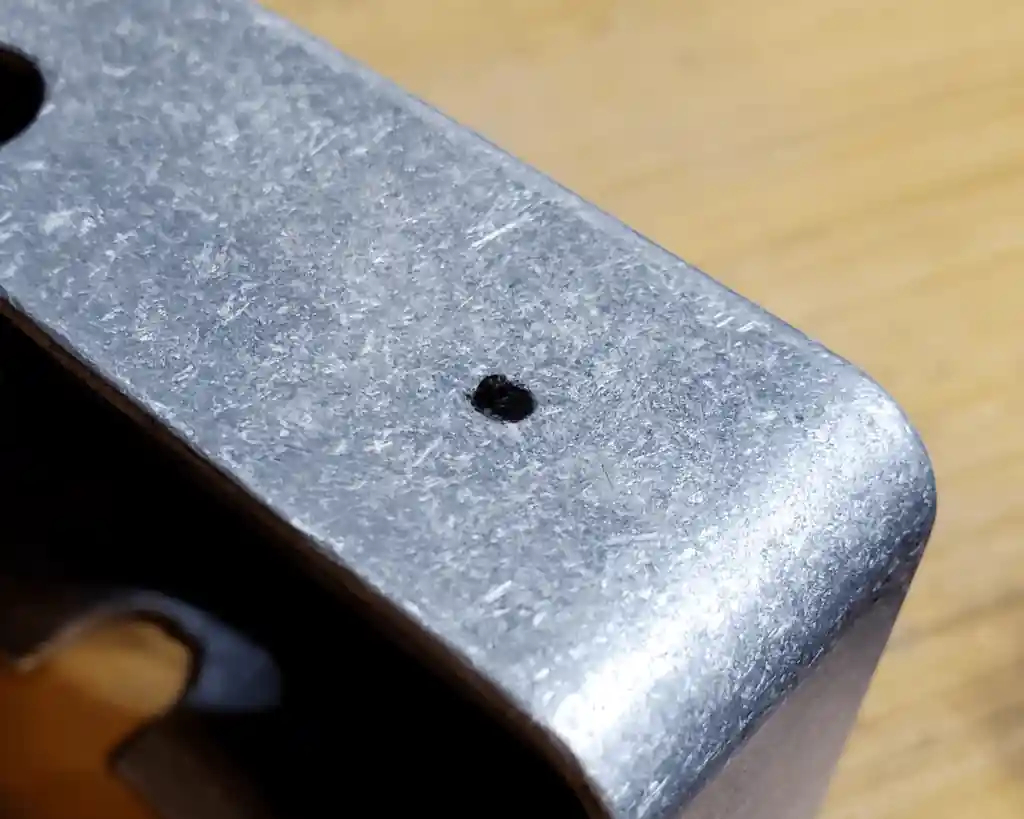
Step 3: Punch the Center
Using an automatic center punch, make a dent in the center of the mark you made in step 2.
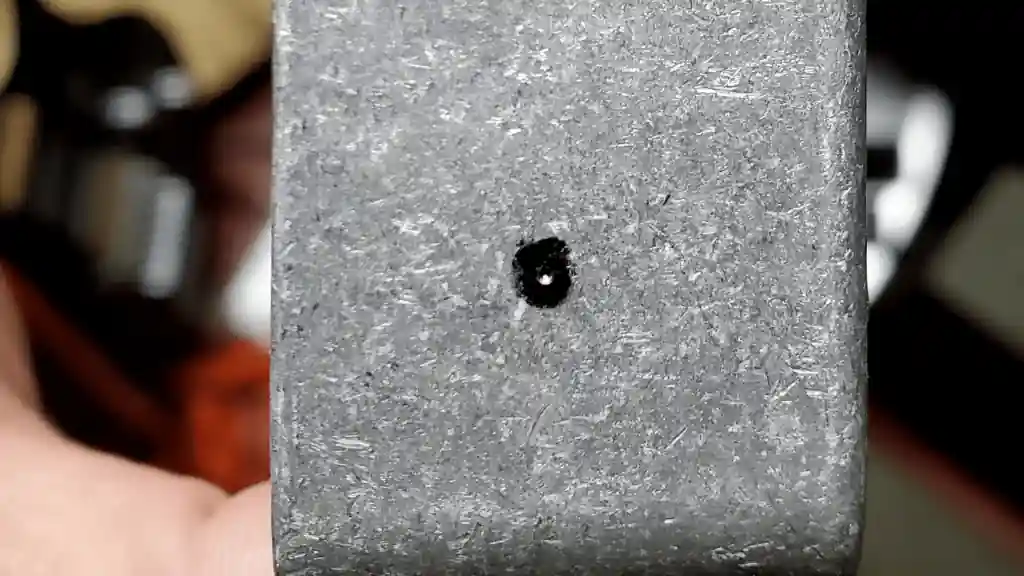
This does two things. First, the light hitting the dented metal will show up slightly differently than the surrounding area, aiding in your view of the drill bit position. Second, the dent serves as a guide for the drill bit, so it prevents the bit from traveling outside the center point.
Step 4: Determine Component Hole Diameter
This step meshes with the first: determine the required diameter of the hole. This is best done with a pair of calipers, but a small ruler can also be used.
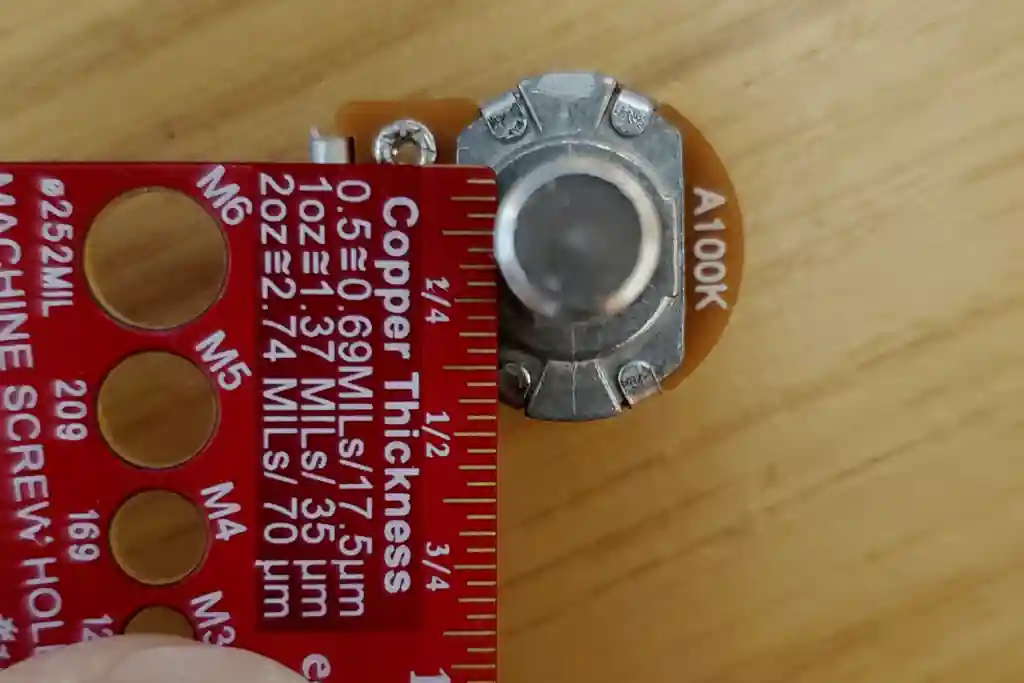
Below I’ve made a table of common mountable components, complete with clearance diameters that I’ve found work best. I have these listed on a piece of paper and taped next to my drill press for quick reference. Your results may vary with components that deviate too far from those in the “Recommended Example Part” column.
| Part Type | Suggested Hole Diameter | Recommended Example Part |
|---|---|---|
| Lumberg Power Jacks | 5/16″ | LoveMySwitches |
| 16mm Potentiometers | 9/32″ | LoveMySwitches | Amazon |
| Toggle Switches | 1/4″ | LoveMySwitches | Amazon |
| 1/4″ Audio Jacks | 3/8″ | LoveMySwitches | Amazon |
| 3-Terminal Power Jacks | 1/2″ | LoveMySwitches | Amazon |
| 5mm LED Bezels | 5/16″ | LoveMySwitches | Amazon |
| Footswitches | 15/32″ | LoveMySwitches | Amazon |
Step 5: Set Up the Drilling Station
Once you have the diameter determined, you can set up the drilling station. The best practice is to use a drill press vise, which helps lock in place the enclosure. I personally use the Rolin Drill Press Vise, as it fits relatively nicely on the base of my drill press.
Components are commonly placed on the side walls of the pedal (like input or output jacks). Drilling into the side of guitar pedal enclosures requires the use of a vise. The grippers may need to press into the top-side of the enclosure, which often has the pedal artwork silk-screened onto it. I usually place a towel between the pedal and gripper to protect it from being scuffed up or damaged.
Step 6: Apply the Lubrication
Now that the pedal is fixed into position, you can take precautions to make sure the lifetime of your drill bits are maintained. I do this by placing a drop of lubrication onto the marked area.
Not only does the lubrication oil keep your drill bits maintained, it will also “catch” most or all of the metal chips that are cut from the drilling process. This step isn’t completely essential, but its a very good practice for your tools if you intend to use them often.
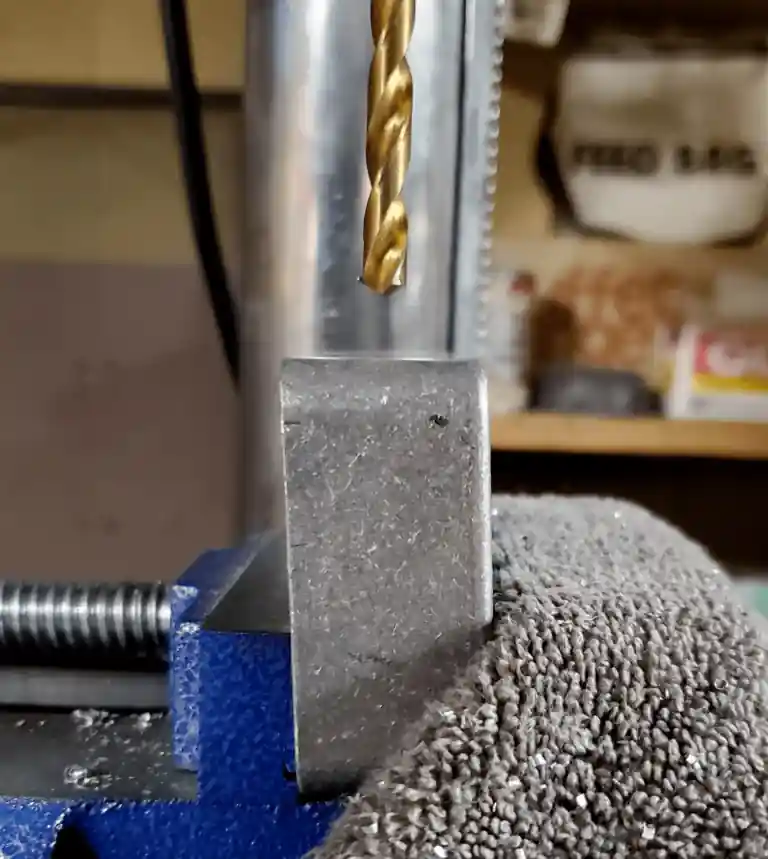
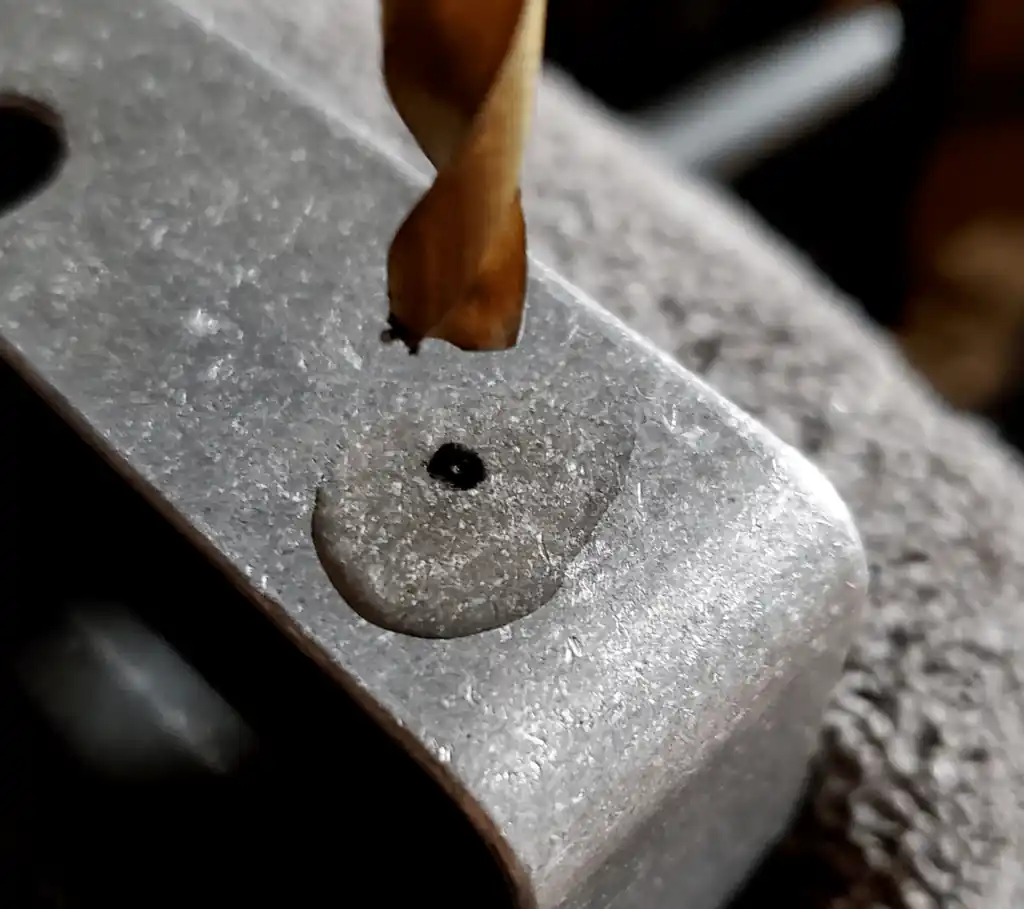
Step 7: Drill the Pilot Hole
After applying lubrication to the drill area, affix a starter bit. A starter bit is a bit with a comparatively smaller diameter than what you intend to finish with.
In our case the end goal is to drill a little over 1/4″ hole, meaning our starter hole could be 1/8″, for example. Even if you are using stepper bits, it’s still a good idea to drill a pilot hole to be considerably smaller than the smallest stepper diameter.
It’s best practice to work your way up to the final hole diameter for two reasons:
- It reduces the possibility of breaking the bit. Nothing is worse than breaking a drill bit, especially one you use often!
- It reduces the power required for turning the drill bit. The drill takes more power to drill a 1/4″ hole into bare metal versus a smaller diameter. This reduces the heat produced while minimizing the possibility of seizure.
Also, notice how the lubrication has “caught” all the metal shavings from drilling the starter hole, aiding to a cleaner work environment.
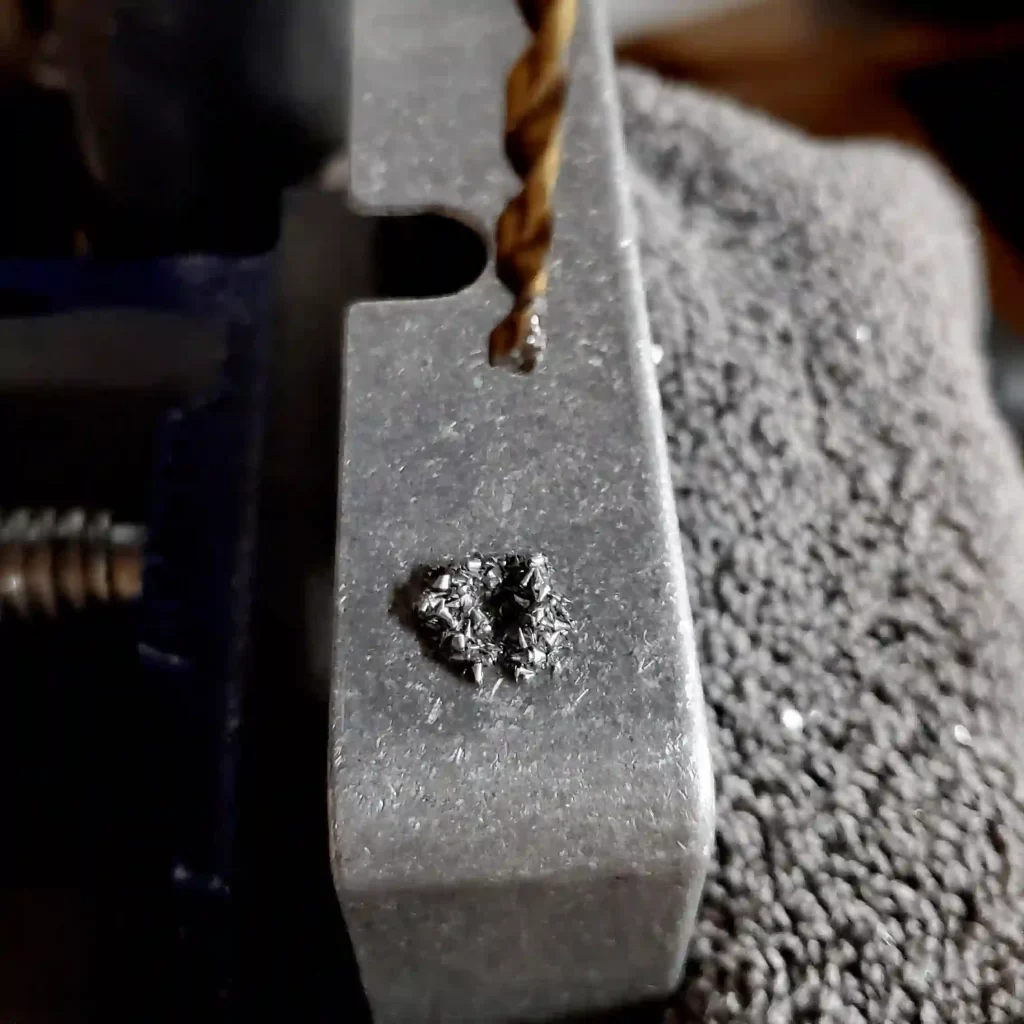
Step 8: Drill the Final Hole
Now that the pilot hole is drilled, you can start towards drilling the final diameter. If you’re using a stepper bit, the process is simple. If you only have single diameter drill bits, you can “step” your way up to larger diameters by drilling increasingly larger holes from the pilot hole.
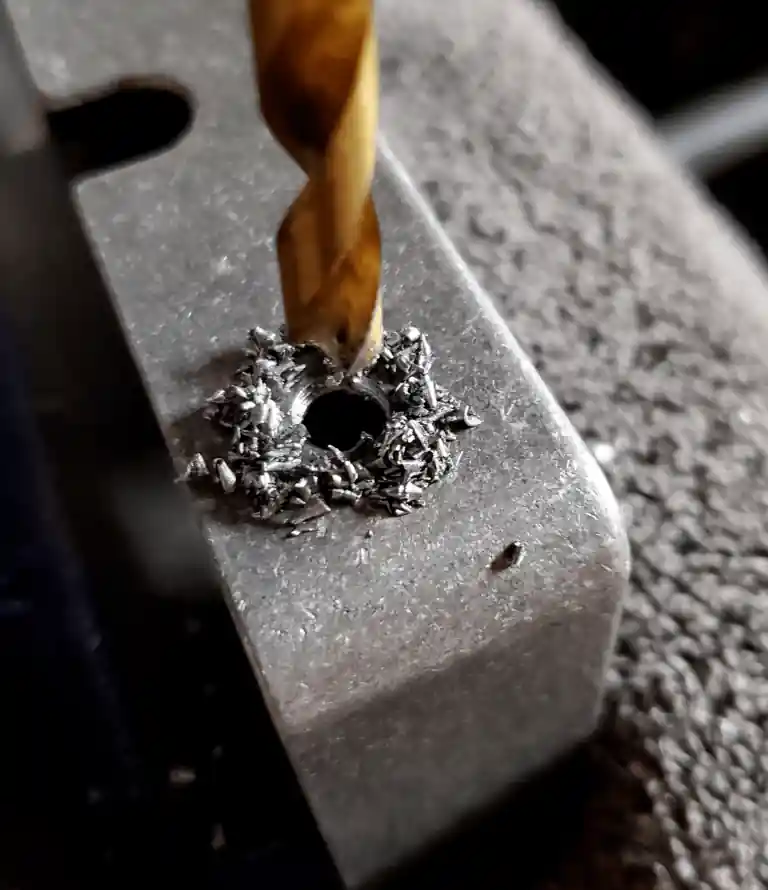
Notice, again, that the lubrication oil has caught all the shards from drilling the final hole.
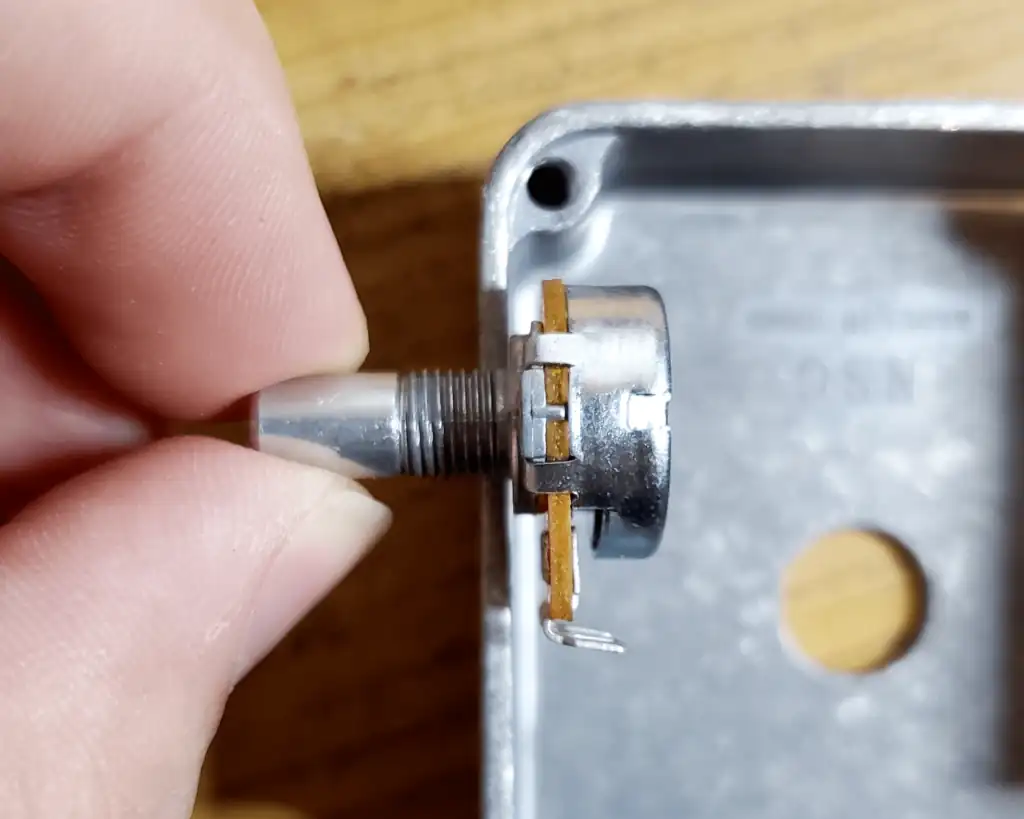
Step 9: Check Clearance
Wipe away the metal shavings from the drilling procedure. Take the component you wish to mount and make sure it fits the hole you just drilled.
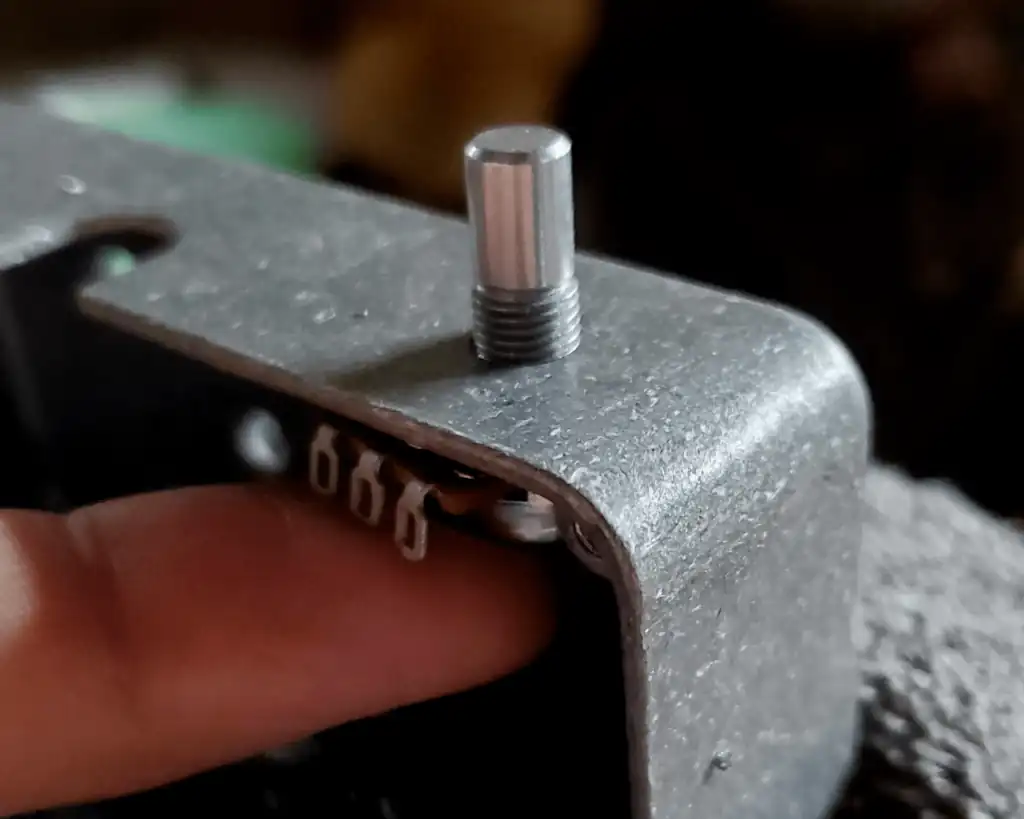
It is possible that you didn’t take into account clearance or tolerance, so this step is important to ensure you are done with the drilling procedure.
Step 10: Deburr
Drill holes are usually made perpendicular to the surface of the enclosure, meaning the edges of the newly drilled hole can be rough. This could be a hazard and it’s best practice to “deburr” those rough edges. Use a deburring tool to smooth out those rougher parts.
Meet the Author:

Hi, I’m Dominic. By day, I’m an engineer. By night, I repair and modify guitar effects! Since 2017, I’ve been independently modifying and repairing guitar effects and audio equipment under Mimmotronics Effects in Western New York. After coming out with a series of guitar effects development boards, I decided the next step is to support that community through content on what I’ve learned through the years. Writing about electronics gives me great joy, particularly because I love seeing what others do with the knowledge they gain about guitar effects and audio circuits. Feel free to reach out using the contact form!
The Tools I Use
As a member of Amazon Associates, Stompbox Electronics earns and is supported by qualifying purchases.


