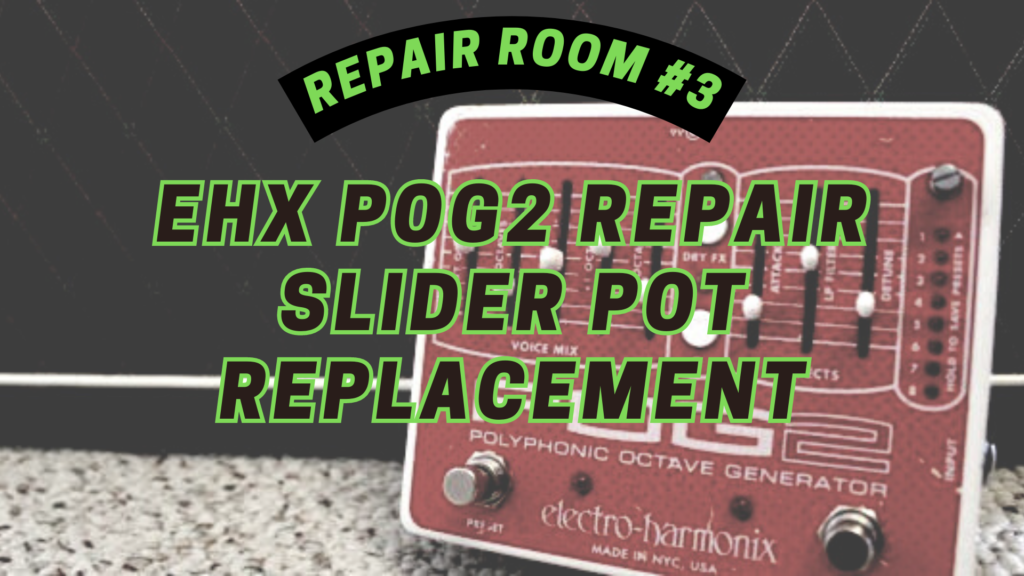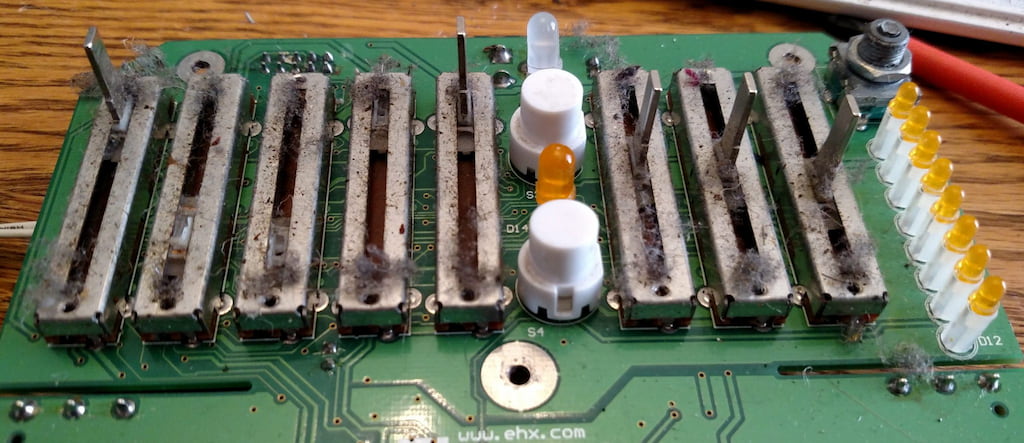
This last week I received an EHX POG2 with a few broken sliders. Their condition gave justice to the term “stompbox!” In this post, I go over the POG2 slider replacement process and where I went to get the replacement parts.

As a member of the Reverb Partner Program and as an Amazon Associate, StompboxElectronics earns from, and is supported by, qualifying purchases.
Disclaimer: Stompbox Electronics and/or the author of this article is/are not responsible for any mishaps that occur as a result of applying this content.
POG2 Slide Pots Overview
First step: some housekeeping!

The construction of the slider pots make them relatively straight-forward to remove. There are two parts: the metal cover and the linear potentiometer.
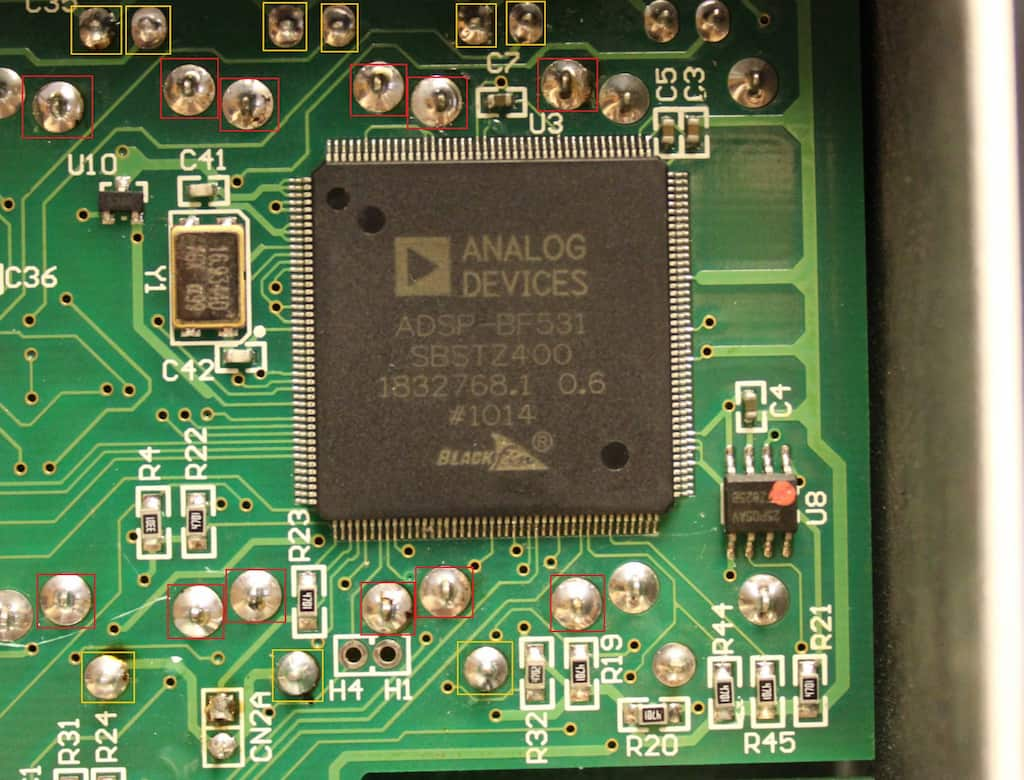
The metal cover has 4 lugs, two on each side, each marked with RED outlines on the image below.
The linear potentiometer portion is positioned underneath the cover with 3 lugs. Two of them are on the top while the third is on the bottom. These lugs are marked with a YELLOW outline below.

Removing the Slide Pots
To remove the solder I used a standard handheld spring-loaded desoldering pump and a soldering iron to heat the pads.
As an Amazon Associate, Stompbox Electronics earns and is supported by qualifying purchases:
The ground plane of the PCB and the metal frame of the sliders act like heat sinks. That means it takes considerable time for the solder pad to heat up to a point where you can reliably use the solder sucker. So, if you see any solder leftover on the pad after using the pump, I suggest reflowing the pad with new solder and desoldering it again.
Another method I found helpful was to heat the pad from the front side (IC-side) of the board and activate the desoldering pump on the underside while applying heat. This method is best done using a pair of helping hands or a circuit board holder.
In order to remove one slider I first had to desolder the cover and pot lugs. After that, I took a pair of needle-nose pliers and lifted up the top and bottom sides of the slide-pot cover.
One by one I had to simultaneously heat up and pull out each lug until I could pull off the whole cover, being very careful not to lift any copper pads along with the lugs. After having removed the metal cover, the linear pot portion was easy to remove with a similar process.
POG2 Slider Pot Replacement
The value for each of the slide pots is printed on the bottom of the component. Therefore, it’s impossible to know the value for a slide pot unless you remove it. In this case all three slide pots were 5kohm linear “B-type” potentiometers.

Unlike many other parts, you can find replacements for the slider pots relatively easily! Small-Bear Electronics has them (based near NYC) under SKU number 1012H. If Small-Bear happens to not have them in stock, you can also find them on eBay!
As for the white slide pot caps, usually Small-Bear has those too. If you can’t find them or they don’t have them in stock, check Loophole Pedals’ Reverb store.
Once the parts came in installation was no problem!
Replacing the Rotary Encoder Selector Switch
On this particular repair the rotary encoder also had its shaft broken off, so that had to be replaced as well. The device has 7 pins soldered into the main circuit board. Two of which are there purely for mechanical support.
I desoldered each of the pins and, to make things easier, I clipped each lead so I could remove the encoder body. The leftover pins are easily removed with a soldering iron, a pair of tweezers, and a pair of helping hands.
After clearing out the copper vias of any leftover solder, the encoder was replaced with a direct replacement. The Fielect 360 EC11 7-Pin 15mm Encoder on Amazon is also a suitable replacement. Make sure to select the correct configuration: EC11 7 Pins 15mm Shaft.
For our European friends, it looks like Retroamplis has replacement encoders for the POG2 as well.
Wrap-Up
All in all, it was a fairly simple fix. The real hassle was removing the slide pots, as they were located directly opposite to the Analog Devices DSP chip. Heat isn’t generally a good thing around those types of components. It’s recommended to make yourself some coffee or tea and take your time removing each solder pad so the heat doesn’t build up too quickly.
The POG2 behaved well during the entire process and is now fully operational!
Meet the Author:

Hi, I’m Dominic. By day, I’m an engineer. By night, I repair and modify guitar effects! Since 2017, I’ve been independently modifying and repairing guitar effects and audio equipment under Mimmotronics Effects in Western New York. After coming out with a series of guitar effects development boards, I decided the next step is to support that community through content on what I’ve learned through the years. Writing about electronics gives me great joy, particularly because I love seeing what others do with the knowledge they gain about guitar effects and audio circuits. Feel free to reach out using the contact form!
Spotlight
This fix was done for Buffalo indie-rock bank Feverbox. Feel free to check out their EP, released in 2017:
The Tools I Use
As a member of Amazon Associates, Stompbox Electronics earns and is supported by qualifying purchases.


Comments are closed.