
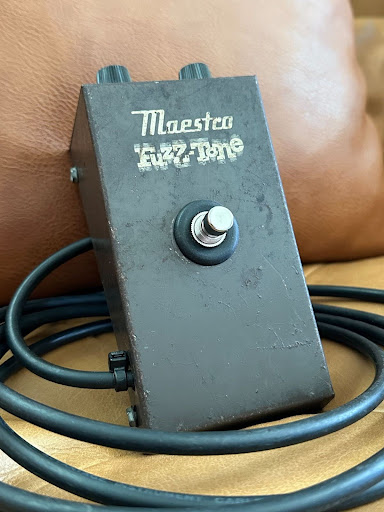
On one of my daily hunts for broken pedals, I stumbled upon this late 1966 Maestro FZ-1A enclosure that needed attention. The original pots were removed and replaced with jacks, and the original footswitch was replaced. I assume this was some sort of A/B switcher, but crudely made. Since I’ve never built or breadboarded an FZ-1, I felt a sense of duty to restore this unit. Little did I know that this was going to be one of the trickiest restoration projects yet!

As a member of the Reverb Partner Program and as an Amazon Associate, StompboxElectronics earns from, and is supported by, qualifying purchases.
Disclaimer: Stompbox Electronics and/or the author of this article is/are not responsible for any mishaps that occur as a result of applying this content.
A Bit of FZ-1A History
The 1960s Gibson Maestro Fuzz-Tone FZ-1 is one of the most primitive examples of a modern-day guitar pedal. Sporting a slanted metal case, two Gibson knobs, one jack, and yes, an instrument cable “input”–this stompbox was meant to be an accessory for your guitar/amplifier combo.
A simple transistor circuit powered by AA batteries meant this unit was portable–a stark contrast to the era’s AC-powered amp-top effect units. After Maestro’s success, the FZ-1 was slightly modified and renamed the “FZ-1A”. The tone is easily recognizable for its dry “buzzing” sound and was used by players such as Keith Richards, Jimmy Page, and even Jimi Hendrix.
Rebuilding the Maestro FZ-1A
The Maestro FZ-1A is the slightly revised version of the FZ-1. The main feature? This unit was powered by 1 AA battery instead of 2 (a whopping -1.5V powerhouse). Amongst the batteries, the coupling capacitors and switched volume potentiometer were also changed.
The Fuzz-Tone also used different PNP Germanium transistor models throughout the years: 2N270, 2N2614, and 2N2613 (just to name a few). To make a historically accurate version of the Maestro in 2024, you’d need a bucket full of outmoded parts and oddities. Luckily, CE Distribution (aka Amplified Parts, Antique Electronic Supply) carried many workaround components and even a reproduction phenolic board of the original FZ-1.
The Hardware
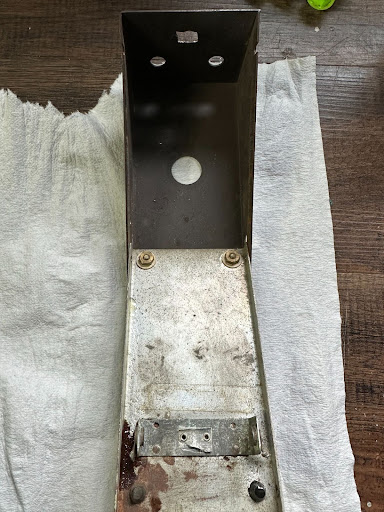
As mentioned, this unit had been previously taken to the chop shop. Normally I begin builds by assembling the circuit, but with how difficult it was to find hardware – that’s where I started.
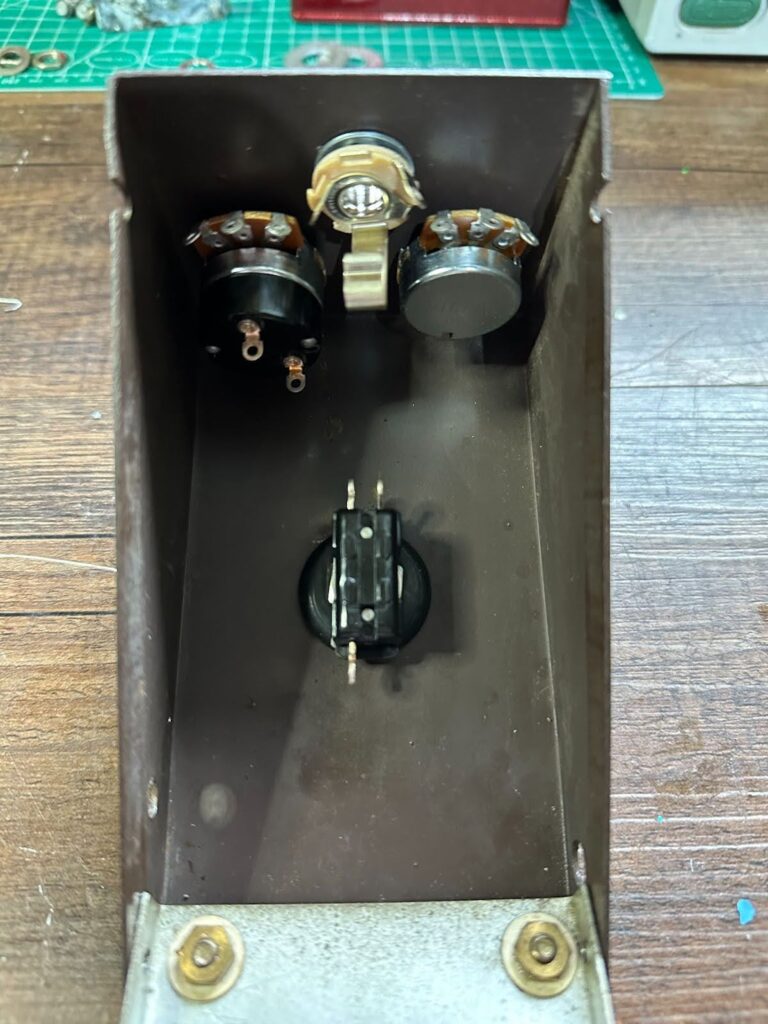
The only relative “switched” potentiometer I could find was a 500k Audio Taper – so the premise of my volume circuit was going to be based on the original FZ-1A (one of the many creative liberties I took!) I was able to find a replacement toggle and rubber grommet for the footswitch with relative ease – but costly. In hindsight, this move would be my undoing because the original circuit was mounted above the toggle switch. Looking at reference FZ-1A’s, it is possible that Maestro utilized a metal mount bracket (as seen on Vox Fuzzes and other vintage stomp boxes).
With no place to mount my PCB, I decided to mount it directly to the bottom door. I stuffed some vulcanized fiber board underneath for extra insulation. This new addition would also just kiss the amp jack – essentially grounding out the circuit when buttoned up. I ended up switching to a low-profile Lumberg jack (not a bad upgrade!)
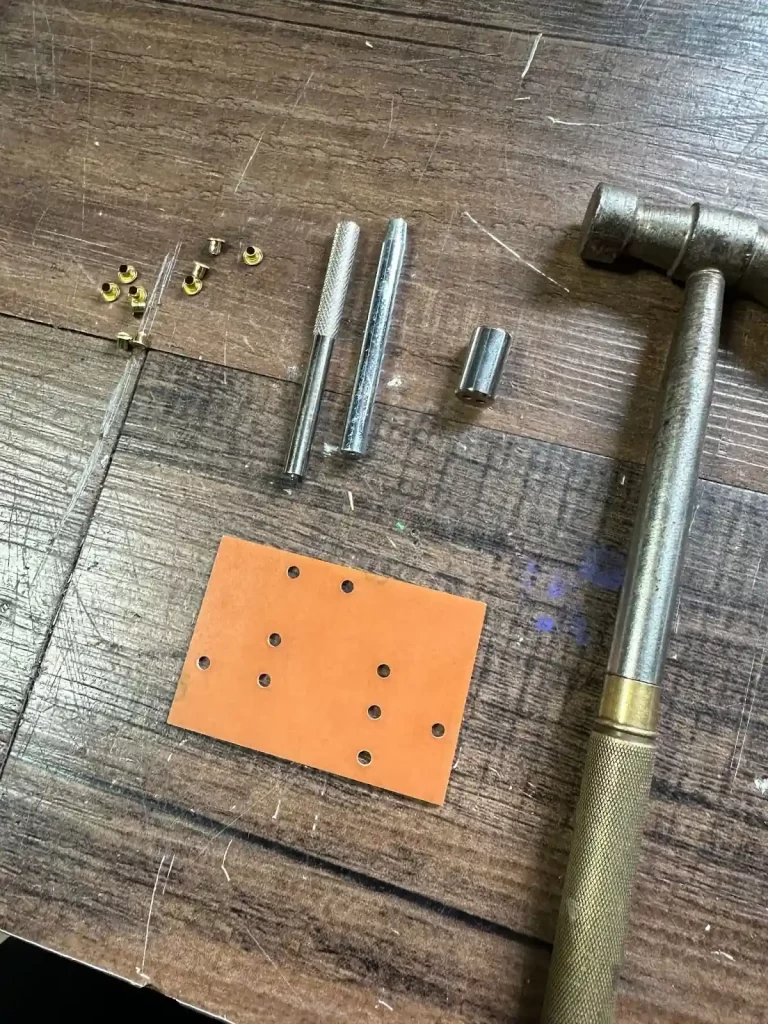
Finally, I drilled out the original corroded battery terminal and replaced it with a reproduction–the only “easy” part thus far!
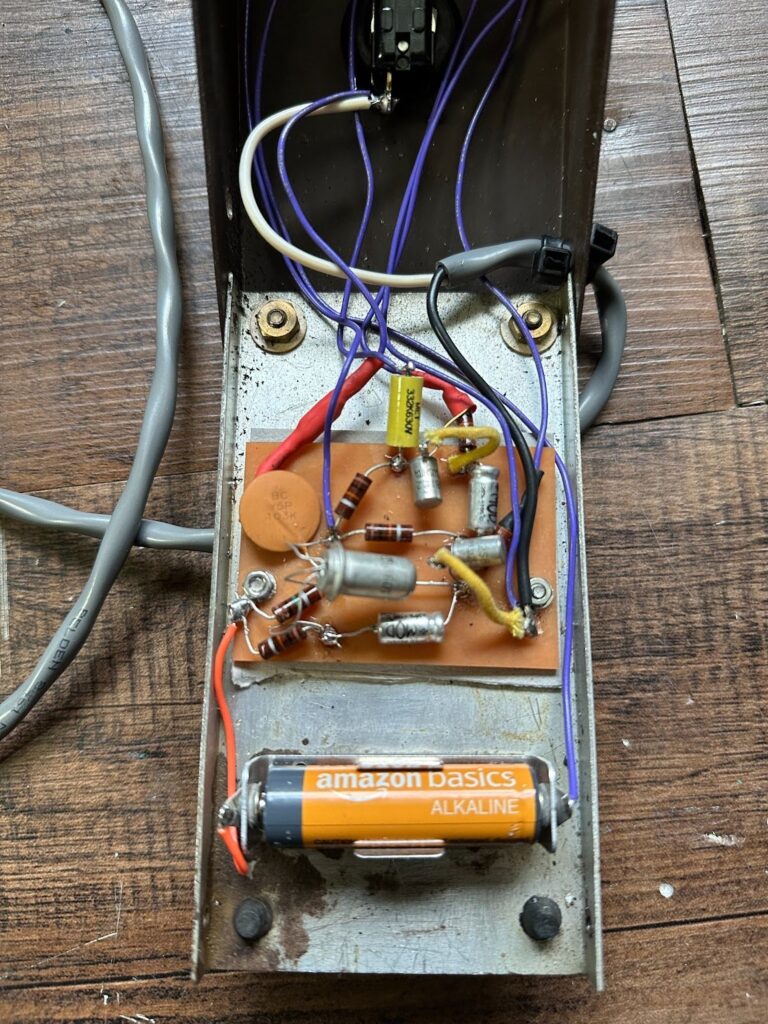
The PCB
Once the hardware crisis was over and things looked flush, I started assembling the phenolic PCB. The FZ-1A has about 9 carbon comp resistors, 4 capacitors, and 3 transistors – extremely simple…right?
Well only if you do your math right! This is a -1.5VDC circuit and the conditions must be correct for it to work. Remember when I mentioned the multiple transistors above? The data sheets and analysis do not lie. It turns out that the FZ-1 thrives on leaky current and transistors with (what I like to say is medium gain) 65-100 hFE.
I originally used SFT319 Germanium PNP’s in this build – seeing as they were easier to find than 2N270’s. Somehow I knew 16-20 hFE wasn’t going to fly. This is exactly why it is integral to breadboard your circuit before building (See PROTIS 1 BASIC). Using Ohm’s Law, I was able to deduce that I had semi-accurate collector, base, and emitter voltages – but unfortunately, the unit just sounded starved.
I went back to the drawing board and dropped in 3 PNP Germaniums that I had saved for another project. Here are the exact values and models:
- Q1: Emitter-Follower – Russian GT404B (hFE: ~38)
- Q2: Gain/Saturation – Matsushita 2SB172 (hFE: ~112)
- Q3: Amplifier – Matsushita 2SB172 (hFE: ~84)
Bingo! Now the pedal ripped and screamed like torn Velcro! Another vintage pedal brought back to life! The pedal hits the rail pretty quickly, but it has that iconic “Satisfaction” tone. I can imagine a revised version with +9V DC would have even more headroom and power.


Wrapping Up – The Instrument Cable
The work was almost done, now I just needed to find a way to install the original instrument cable. Finding the right size cable thickness and strain relief combination was nearly impossible. The bottom door hinge needs to “clear” the cable – one wrong size and you’re mostly likely guillotining your cable. Drilling it bigger for a modern strain relief would prevent the door from closing.
After many failed prototypes, I fashioned mine from an old ¼” instrument cable (note: make sure you use shielded wiring). Instead of using a strain relief, I used two industrial cable zip ties with very little play on either end. This way, the cable was flexible, but not yanking on the switch or circuit. The tip is wired directly to a 100K resistor (connected to the footswitch) while the sleeve is to the chassis ground. Weird, but that’s how they did it!
And there you have it! This 1966 Gibson Maestro FZ-1A is back on the road and ready to rip!
Meet the Author:

Wyatt Abrachinsky is a guitar and amplifier technician and guitar effect designer & builder from Bethlehem, Pennsylvania. One discussion with Wyatt is all you need to realize his distinct passion for guitar gear and the stuff that makes ’em rip! Wyatt often writes about his audio escapades on his LinkedIn and shares many of his projects on Instagram. He operates a Reverb store named WA & Co. Bethlehem Amp and Pedal where you can purchase his restorations, pedal builds, and other cool stuff!
The Tools I Use
As a member of Amazon Associates, Stompbox Electronics earns and is supported by qualifying purchases.


