
Breadboards are used to prototype guitar effect circuits before committing them to copper. It gives you the chance to interact with your creation and really hear the difference between one component over another. In this post, I’ll be covering 5 prototyping boards used specifically for testing out and designing guitar effects circuits.

As a member of the Reverb Partner Program, eBay Partner Network, and as an Amazon Associate, StompboxElectronics earns from, and is supported by, qualifying purchases.
Disclaimer: Stompbox Electronics and/or the author of this article is/are not responsible for any mishaps that occur as a result of applying this content.
How to Use a Breadboard
So, you decided to get a breadboard. It would help to know how to use it!
Below is a quick diagram I made up for you, which indicates how each hole is connected.
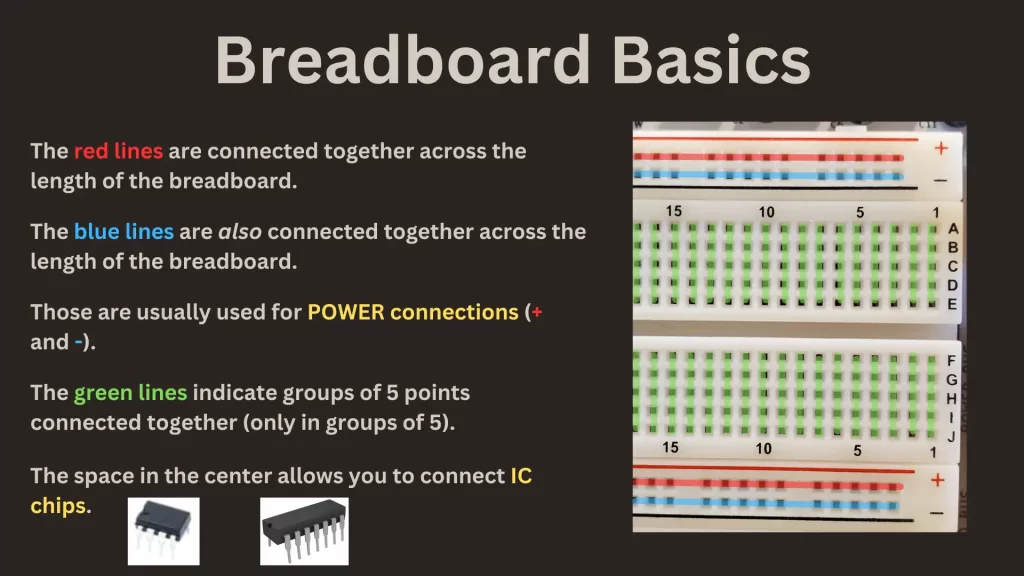
The red lines and blue lines are typically called rails. If they are used to deliver power then they are called power rails. The green lines indicate groups of 5 holes that are electrically connected, but only in groups of 5. The space along the middle of the breadboard separates it into two halves, allowing you to plug in op amps and other IC chips across the gap.
Prototyping Boards vs. Breadboards
It’s time to come clean. Breadboards and prototyping boards are not the same thing.
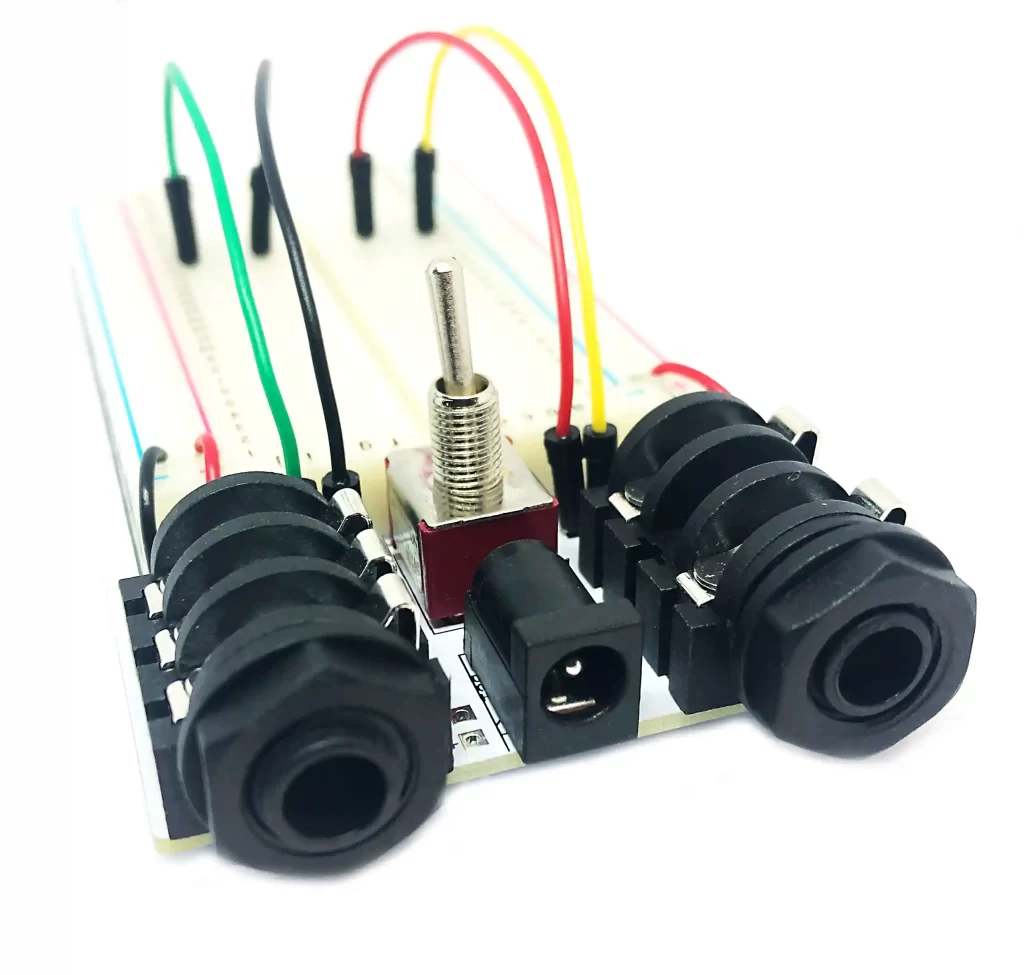
Prototyping boards not only have a breadboard, but they also have additional features that support the prototyping process. In the context of guitar pedals, the minimum you’ll need are jacks to plug in your guitar and amp, a power connector, and a switch for toggling between effect and bypass modes.
All of the prototyping boards in this post have those basic features. Some of them even go the extra mile to give you even more.
Upgrading Your DIY Prototyping Setup
Let me paint a picture. Meet Rufus. Rufus bought a breadboard and is finally getting into this super duper awesome hobby of designing guitar effects. He knows a bit about electronics and how to read schematics, so how difficult could it be?
He sets his eyes on a basic overdrive circuit and starts hooking up the power connections. But…how? There’s no power connector available, so he decides to use a battery clip. A little flimsy, but it will do.
Now, onto the input jack…wait, how does a guitar jack connect to a breadboard? Rufus uses a couple alligator clips and quickly moves on to the next step.
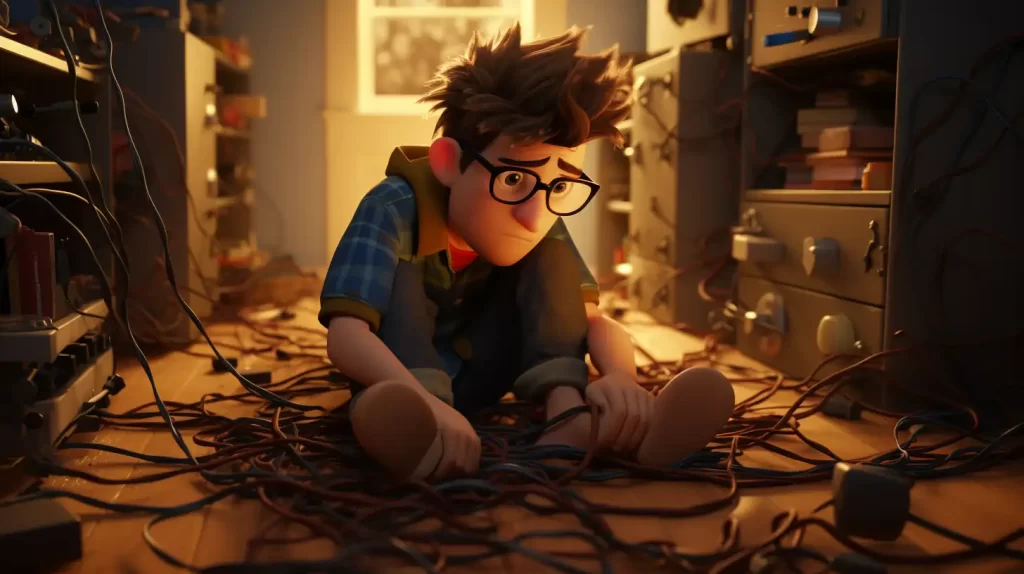
You can see how this can quickly become tedious! Everytime Rufus wants to prototype a circuit he needs to go through connecting the jacks, the power connector, etc. Let alone the need to A/B test the bypassed vs. engaged signal – a task usually requiring at least a handful of wires to a toggle or foot switch.
That’s where prototyping boards come in. They have various features that allow you to prototype your guitar effects without a messy rat’s nest of wires and alligator clips. As a result, it lowers the amount of needless troubleshooting and allows you to have more fun designing really cool guitar effects.

Top 5 Breadboards for DIY Guitar Pedals
Coppersound DIY
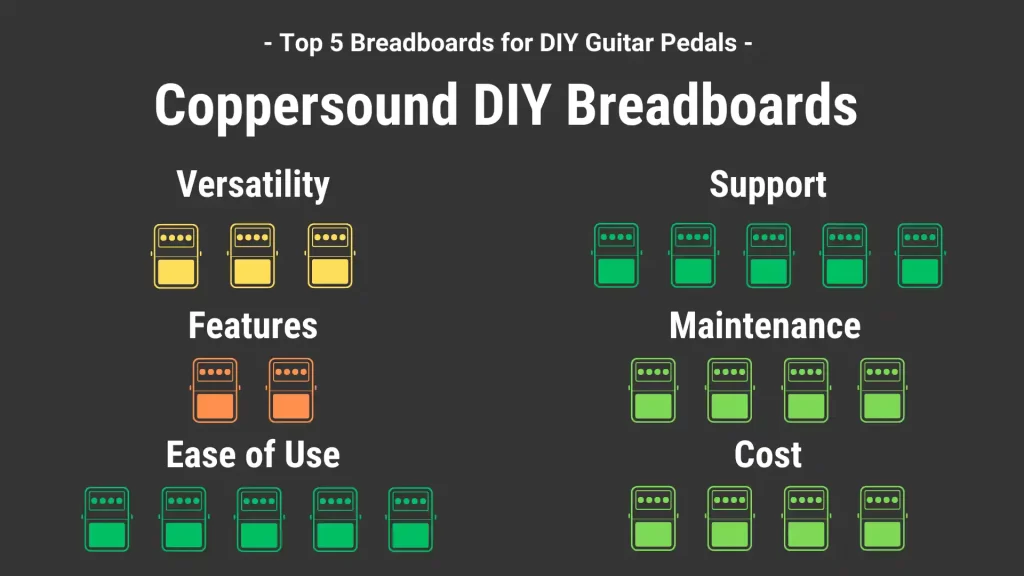
Coppersound Pedals came out with the “DIY” line of breadboards in September 2022. Their minimalist approach allows the creator to expand their creativity without getting too bogged down with the details.
Coppersound has a few different models, corresponding to the size of the breadboard itself. The Mini, Small, Medium, and Large boards all have the same features:
- Two guitar jacks
- 1 power connector/barrel jack
- ON/OFF bypass switch & indicator LED
- Integrated breadboard (sized according to model)
The amount of features is a little light for the cost, and the integrated breadboard might be difficult to replace if the board gets a ton of use. But if minimal is what you’re going for then Coppersound DIY Breadboards will support your needs!
Substitution Boxes are also available for quickly switching between component values on the fly. They come in their own enclosure and are sold based on which components you want to A/B test: Resistor, Diode, Transistor, FET, Electrolytic Cap, Ceramic Cap, and Film Cap boxes. They each have a single switch for toggling between two component values, each value being set with their own chicken-head knob.
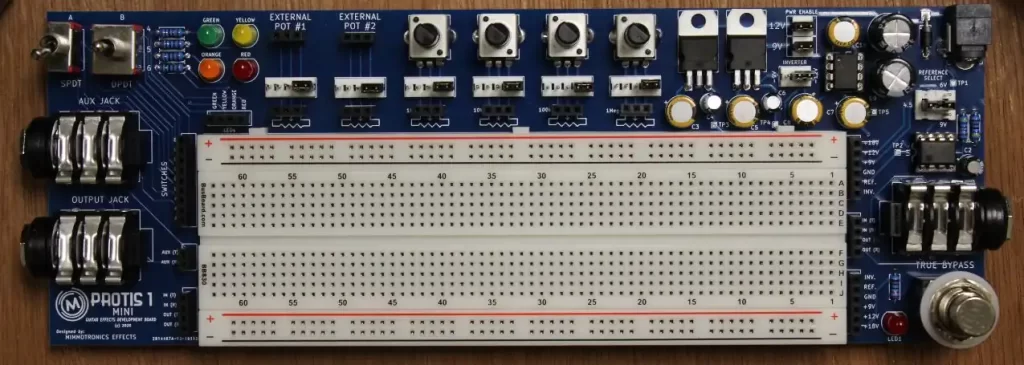
Mimmotronics PROTIS 1 Guitar Effects Development Board
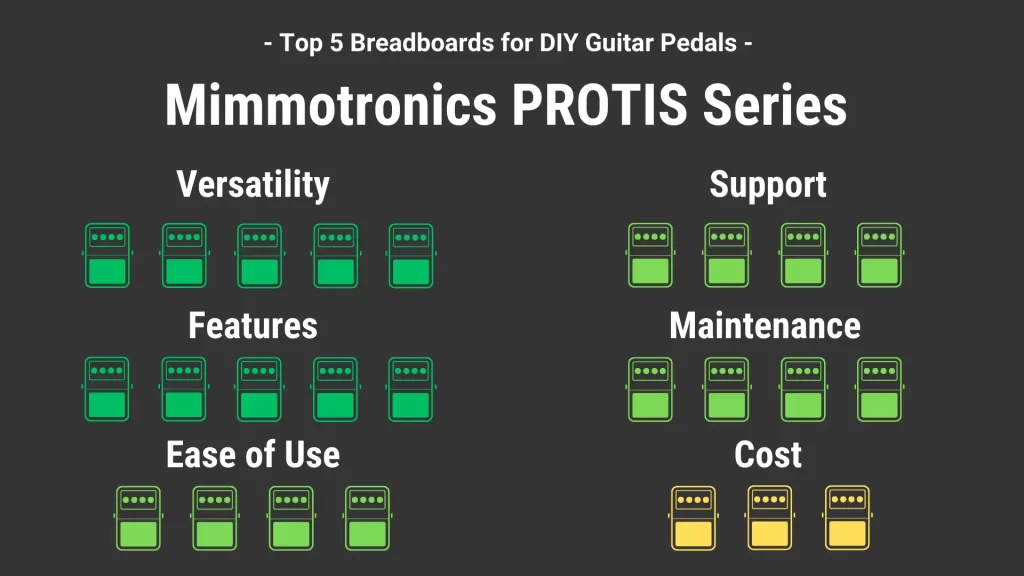
Mimmotronics came out with the PROTIS 1 Guitar Effects Development Board in 2019 and is now sold under Stompbox Electronics. The sole focus of the design is on centralizing everything required for prototyping guitar effects onto one board. That means you get all the basics (I/O jacks, bypass switch + indicator light, a power connector) and more – including:
- +18V, +12V, +9V power options
- +5V power option for digital circuits
- Half-Voltage bias generator for 9V, 12V, and 18V
- -9V, -12V negative voltage options for dual-supply circuits
- 6 on-board potentiometers + 2 spaces for off-board pots
- 2 toggle switches, 2 tactile switches, 4 LEDs
- LFO with selectable Square Wave and Triangle Wave output
- Modular Prototyping Board space
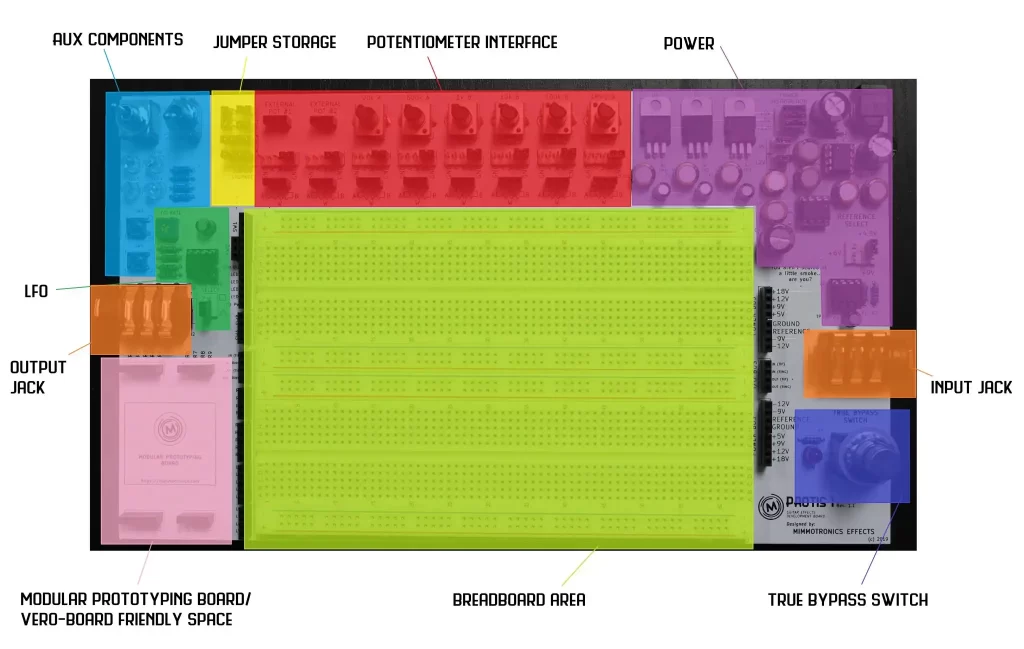
The modular prototyping board space is what makes the PROTIS 1 so versatile. It allows you to build your own custom PCBs or vero-board layouts as hardware “add-ons” to the board.
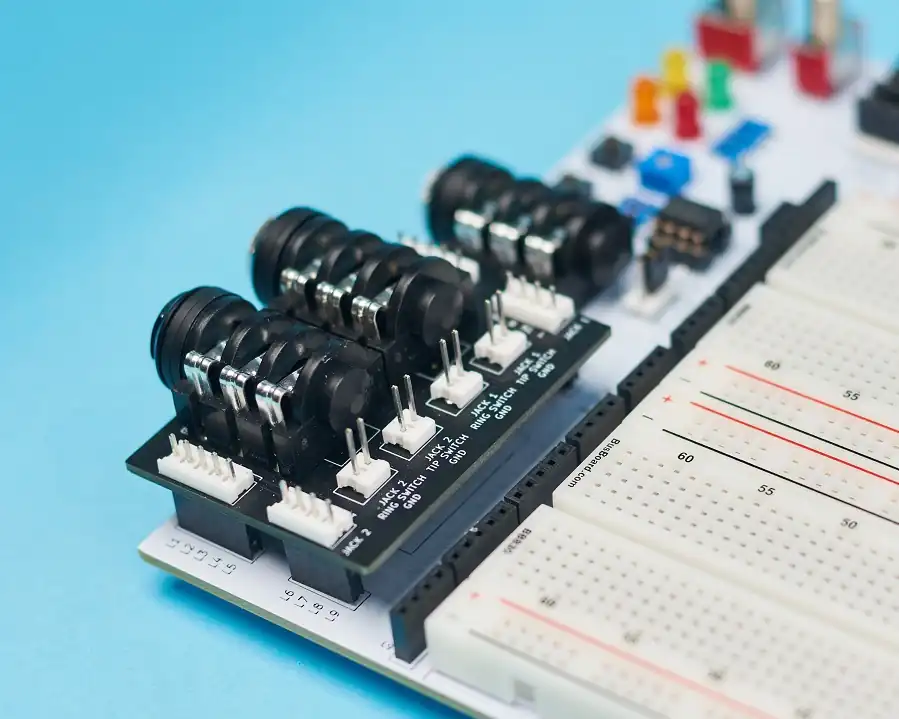
We also provide three modules for sale – Selector Module, Eurorack Module, and the Dual Jacks Module. Each one enhances the PROTIS 1 board in their own way.
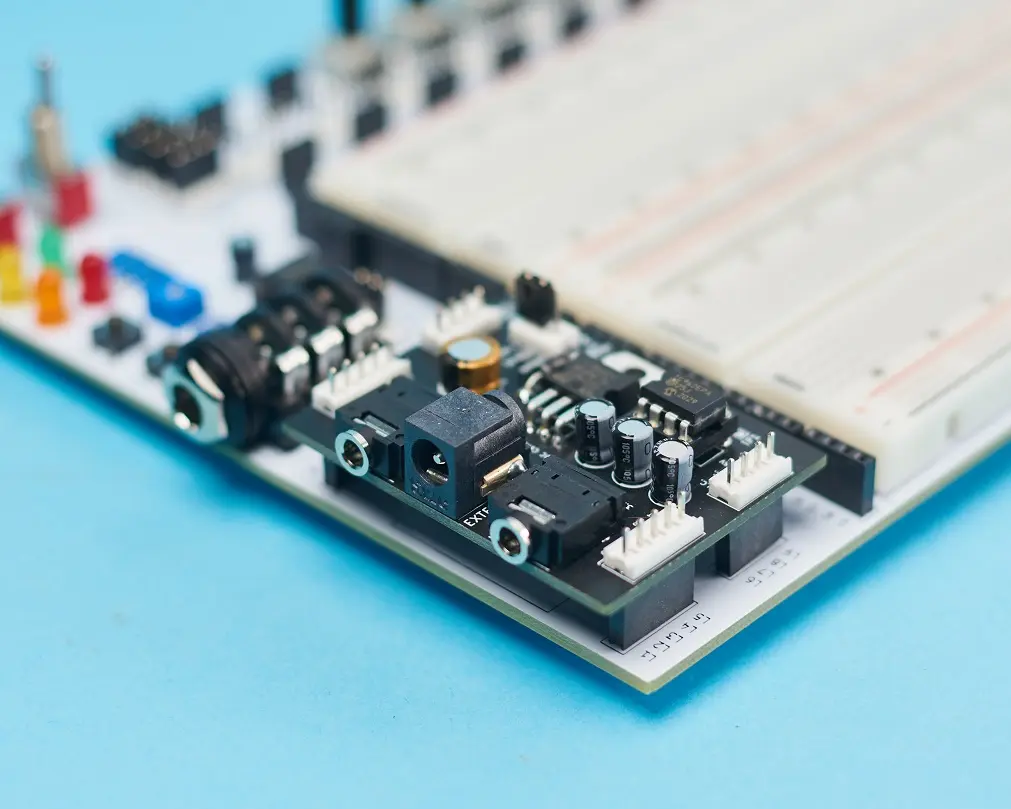
The board is configurable by removing or inserting small 2.54mm and 5.08mm jumpers. The bypass switch is an actual 3PDT footswitch, making A/B testing on the floor among other pedals more convenient.
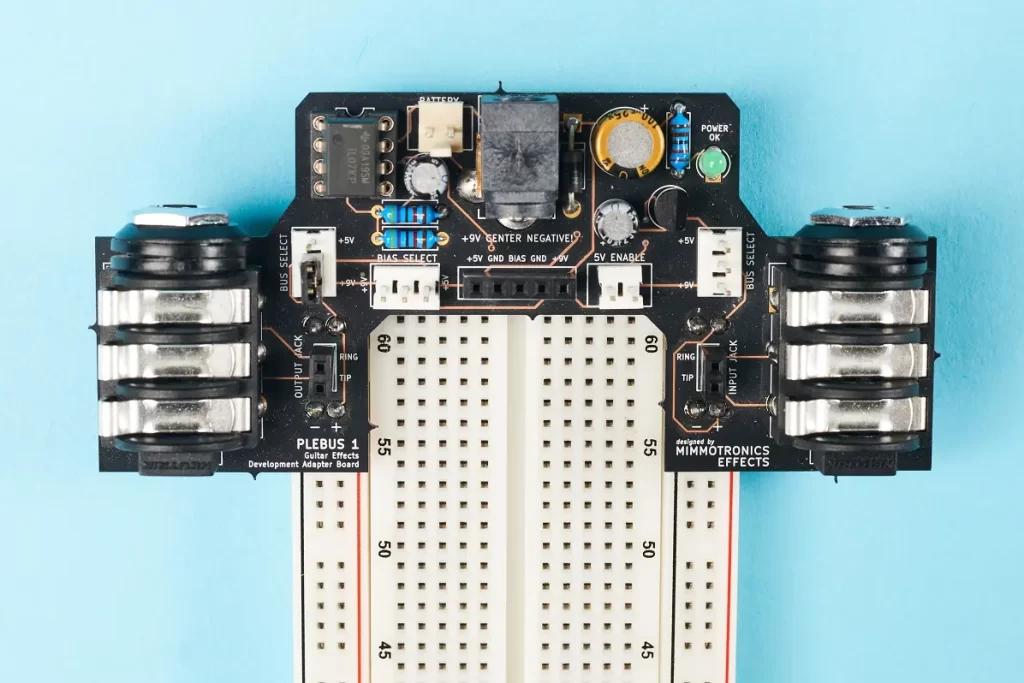
There are two other models in the development board line-up: the PROTIS 1 MINI and the PLEBUS 1.
Fuzzdog ProtoBuddy (UK-based)
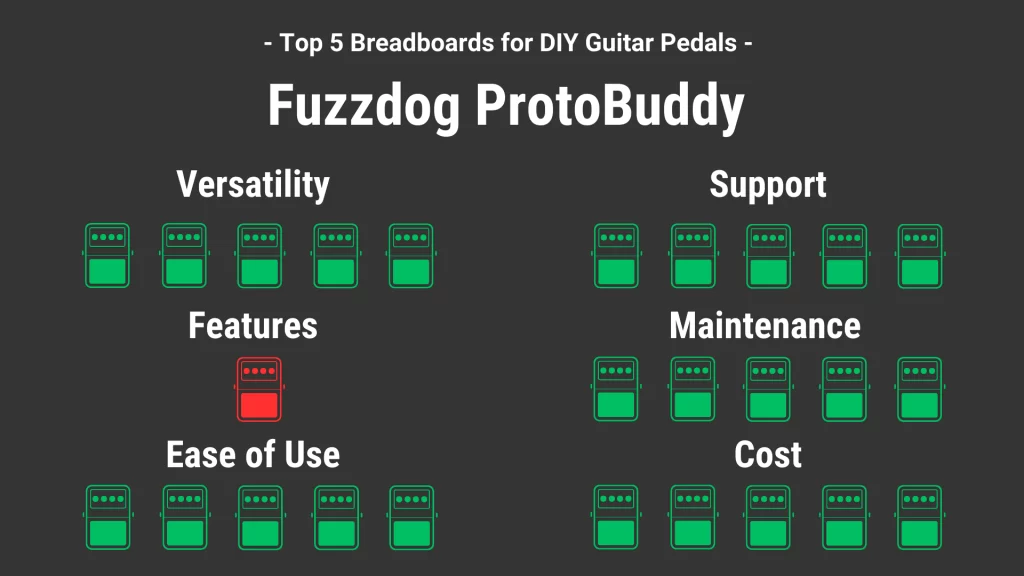
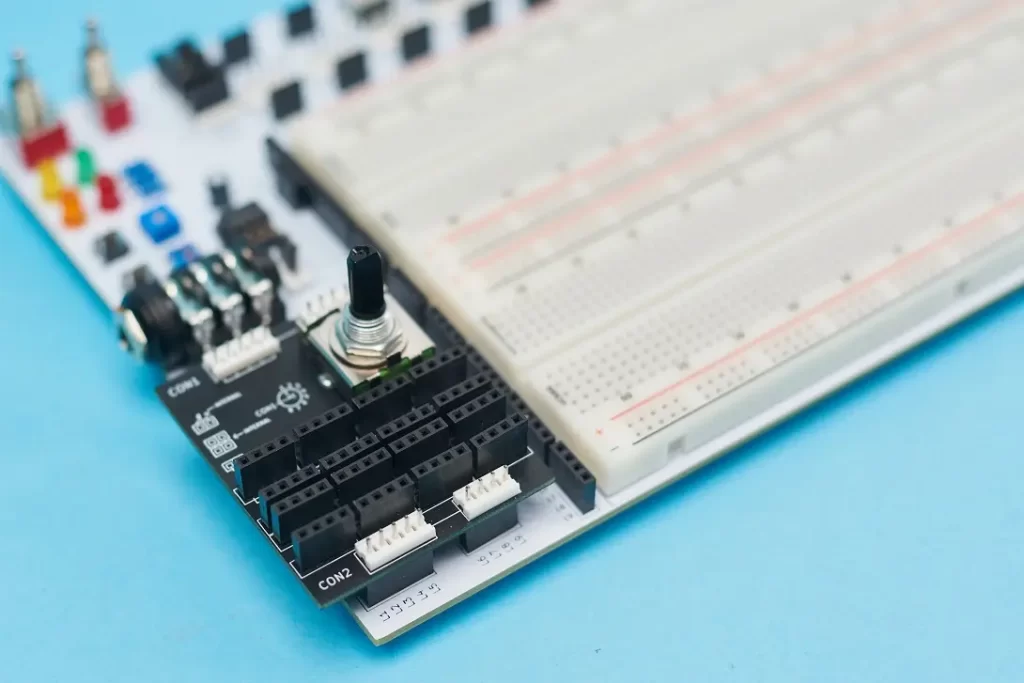
Next up is the UK-based Fuzzdog ProtoBuddy Breadboard. The ProtoBuddy sits just off the breadboard on rubber feet and connects to your circuit through jumper wires, making it extremely versatile and easy to use. Breadboards usually come with plastic slots on either side that allow you to expand the breadboard space, so the fact that this sits off the breadboard lends to expandability as well.
The ProtoBuddy comes with a few jumper wires and a breadboard. You can get it as a DIY kit or, if you live in the UK, you can have it delivered to you already assembled. FuzzDog has a Facebook support group with around 1,000 members in case you run into problems with the kit or with damaged parts, etc.
The cost is right in line with what I would personally expect for the bare bones feature-set. There are a couple terminals by the power connector that allow you to install a battery clip, if needed. There are only two features the ProtoBuddy lacks that I would’ve liked to see: an indicator LED and some sort of reverse polarity protection – just in case whoever using it is a new-comer to the hobby. But, then again, if we don’t make mistakes how can we learn?
If you decide to go with the ProtoBuddy, you will need to make sure the 1/4″ guitar cables don’t pull the board off the workbench. Use something heavy on top of the 1/4″ cables so they can’t move around.
PedalPCB ProtoBoard
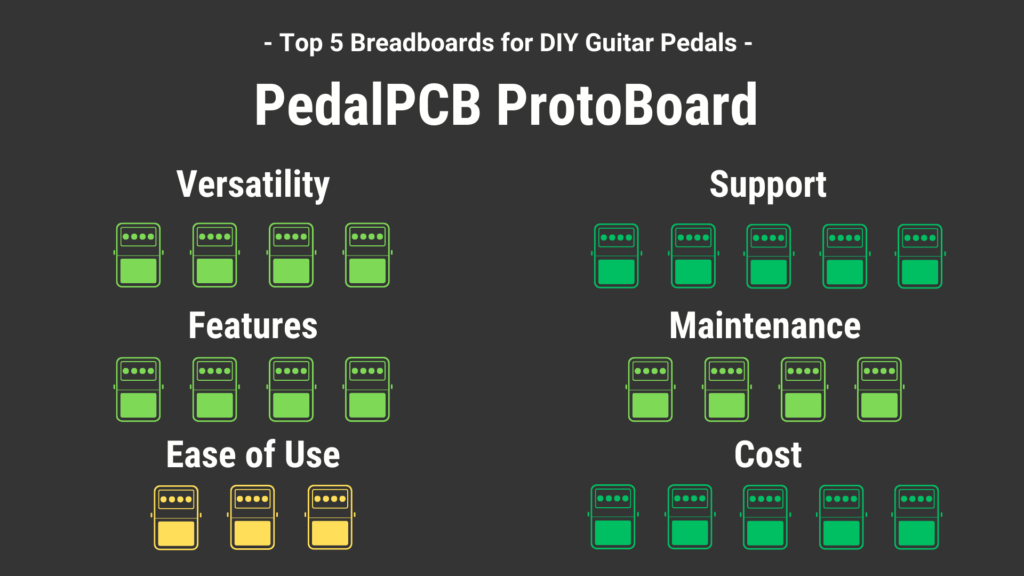
The PedalPCB ProtoBoard is a DIY solution to your prototyping needs, released in 2020. PedalPCB provides you with only the circuit board and comes with a detailed instructional document and a parts list, with most of the parts being easily sourced from Tayda and Mouser.
The ProtoBoard allows you all the basics – a bypass switch and indicator LED, input/output jacks, and a power connector with polarity protection.
In terms of power options, the ProtoBoard offers fixed voltages: 3.3V, 4.5V, 5V, 9V, -9V, and 18V. The inclusion of 3.3V and 5V lends itself to digital circuits, which is nice if you’re into microcontrollers or interested in implementing MIDI.
The real upgrade is with the screw terminals along the top of the board. Each of the six connectors has three terminals, making them perfect for prototyping different potentiometer values. Those aren’t limited to potentiometers of course, you can screw in wires and port them over to switches, LEDs, etc.
For ease of use, I included the DIY nature of the ProtoBoard into this metric. Some of the required components are surface-mount, and since it’s an entirely DIY solution it may be intimidating for newbies to solder SMD. Trial by fire is the best way, but luckily there’s a forum where people can ask questions about SMD soldering, if needed.
In terms of maintenance, it really depends on your soldering skills! There is reverse polarity protection and overcurrent protection at 1.85A, which helps to narrow down power related issues if they occur.
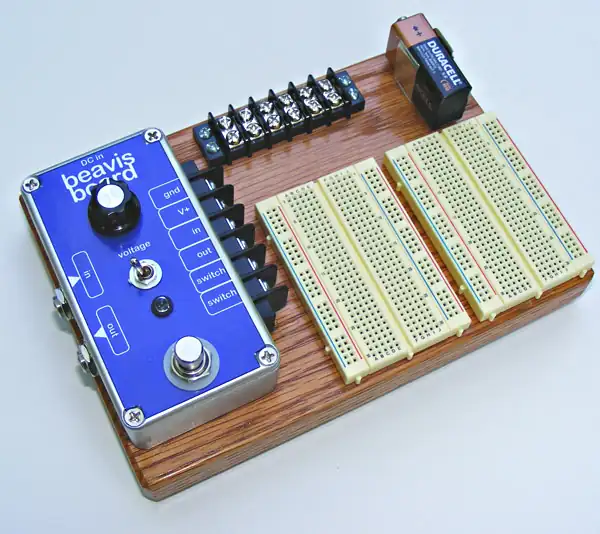
BeavisBoard
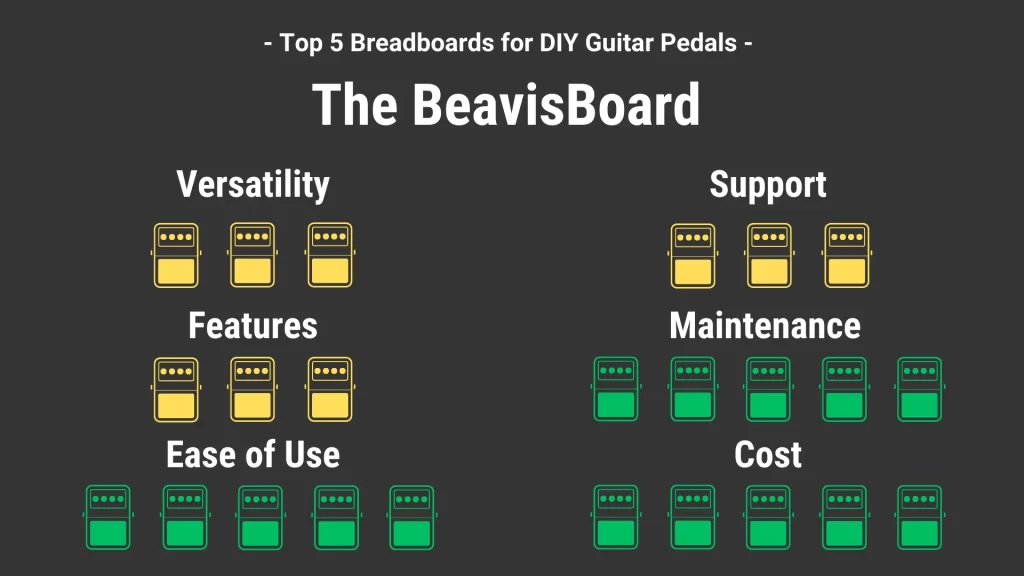
This wouldn’t be a top 5 breadboards post without the notable BeavisBoard! This project was brought to us all the way back in 2008 from Beavis Audio Research. It consists of a prototyping setup affixed to a wooden base, complete with 6-position terminal blocks, an A/B tester and power circuit housed in a 1590NS enclosure, a battery clip, and two 400-point breadboards adhered to the base.
Beavis Audio Research since discontinued the BeavisBoard as a product, but they’ve released all the build documents so you can DIY it at home. Most of the parts can be found on sites like Mouser and Tayda, but some of the parts are a little difficult to filter out on those sites. Here’s a parts list I’ve compiled of some of the more hard-to-reach parts:
| Part Description | Quantity | Link |
|---|---|---|
| 6-Circuit Terminal Blocks | 2 | Check Amazon |
| 9-Volt Battery Clip | 1 | Check Amazon |
| 125B Enclosure | 1 | Check Amazon |
| 400-Pt Mini Breadboard | 2 | Check Amazon |
| Wooden Cutting Board | 1 | Check Amazon |
Beavis Audio Research states on their About page that support e-mails might not be answered. Instead, they direct you to the DIYStompboxes forum, which is a great community of DIY pedal builders, most of whom are familiar with the BeavisBoard. The people there will certainly be able to help you during the build process.
Beavis Audio has tons of other cool projects on their website, which are sure to spark some creativity.
Meet the Author:

Hi, I’m Dominic. By day, I’m an engineer. By night, I repair and modify guitar effects! Since 2017, I’ve been independently modifying and repairing guitar effects and audio equipment under Mimmotronics Effects in Western New York. After coming out with a series of guitar effects development boards, I decided the next step is to support that community through content on what I’ve learned through the years. Writing about electronics gives me great joy, particularly because I love seeing what others do with the knowledge they gain about guitar effects and audio circuits. Feel free to reach out using the contact form!
The Tools I Use
As a member of Amazon Associates, Stompbox Electronics earns and is supported by qualifying purchases.


