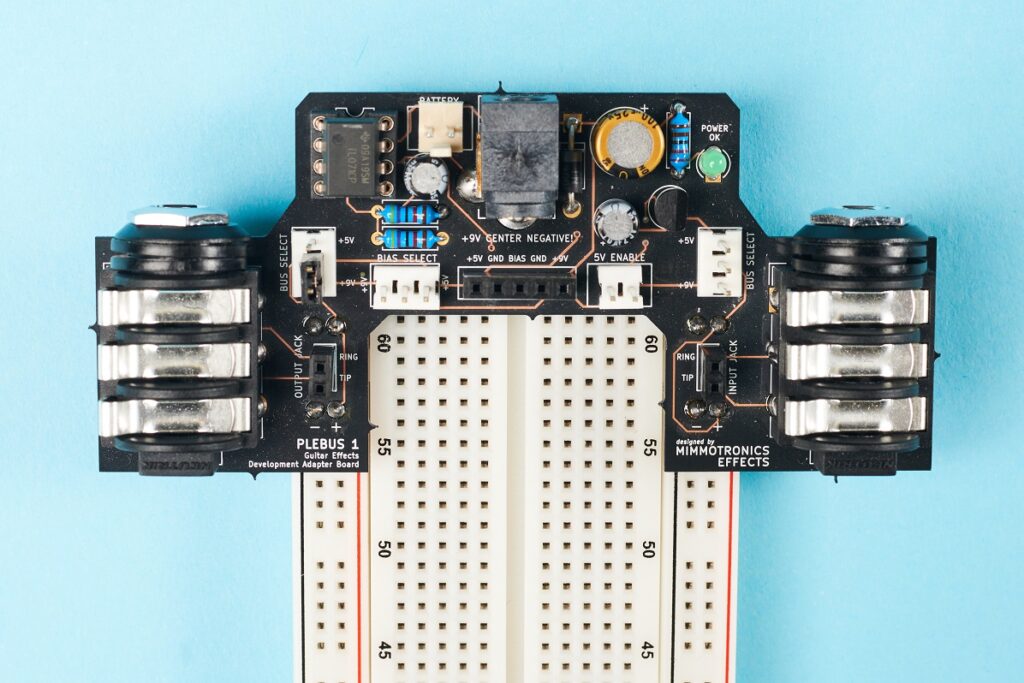
PLEBUS 1™ DIY Guitar Effects Breadboard Adapter
The PLEBUS 1™ is a development board that can plug-in to standard breadboards, adapting them for prototyping guitar effects circuits.
- Convert a standard breadboard to a convenient DIY guitar effects prototyping station.
- Organize and stream-line your design experience.
- No need for constructing repetitive power and input/output wiring.
PLEBUS 1™ Features
- Plugs into standard breadboards, adapting them to prototyping guitar effects circuits
- Input and Output jacks for guitar and amplifier testing
- On-board +9V and +5V power options
- On-board reference voltage generator
- Connector for battery-power
- [Optional] 830-point breadboard
- [Optional] Male-Male prototyping jumper wires
Powering the PLEBUS 1™
The PLEBUS 1™ hosts two (2) power rails (+9V and +5V).
The +9V can be supplied via the DC power jack at the top edge of the board or a standard 9V battery via a battery clip that comes with the board.
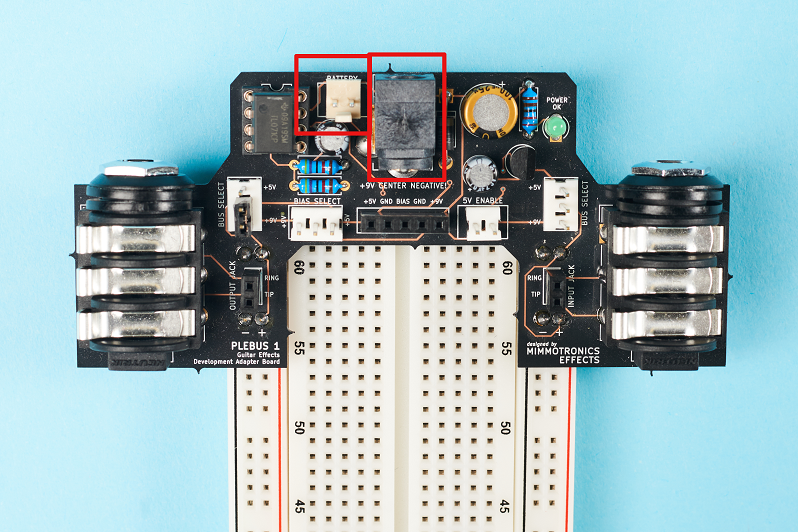
***Recommended Power Supply: +9V DC power supply, 100-500mA, center-negative polarity. A standard BOSS PSA-style power supply will do.
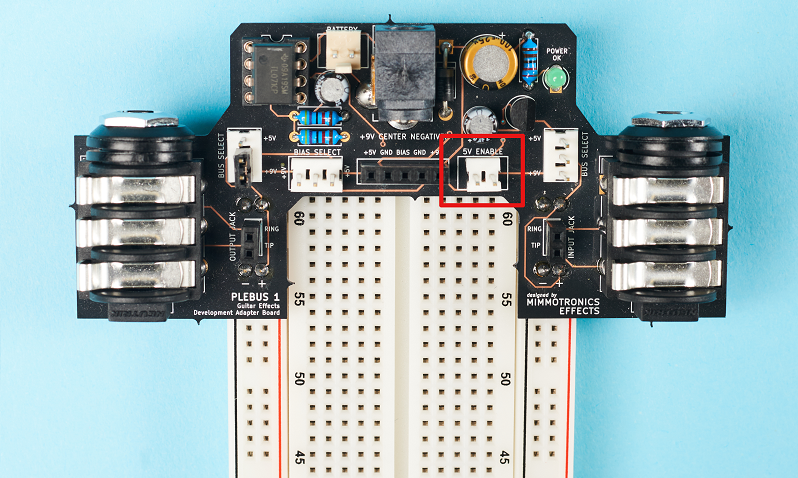
The +5V rail is enabled using the 5V ENABLE jumper. When power is applied the POWER OK LED will light up green.
Half-Voltage Reference Generator
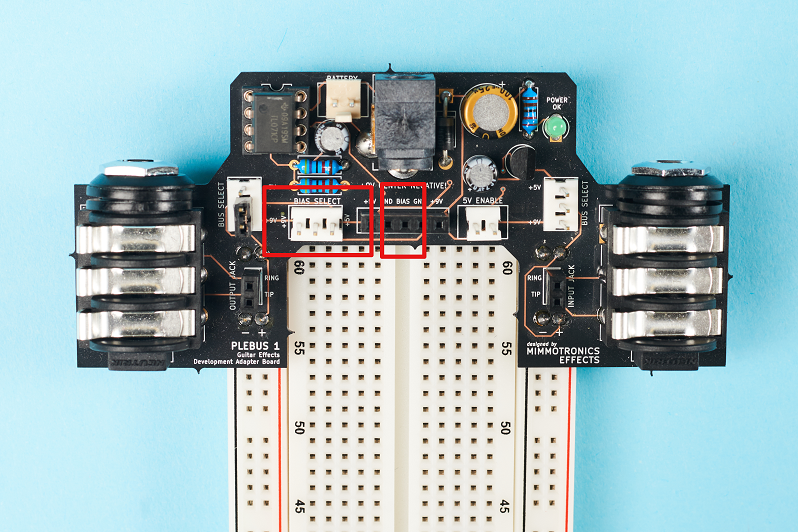
Half-voltage biasing is available for either +9V or +5V rails and can be configured using the BIAS SELECT jumper.
For +9V the BIAS is 4.5V and for +5V the BIAS is 2.5V. The BIAS voltage is accessed via the 3rd pin on the Main Header (in the center).
Automatic Power Routing
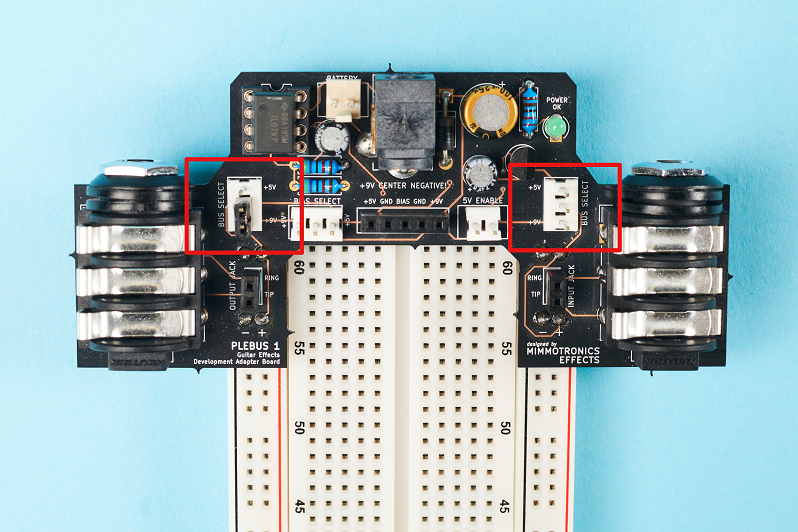
The PLEBUS 1™ makes breadboarding convenient by allowing you to automatically route voltages to the breadboard power rails without the need for jumper wires. Just make sure you line up the + sign with the red line on the breadboard.

The + rail on either side of the breadboard can be configured individually as +9V, +5V, or “free for use” if neither is selected. The – rail is always GROUND (0V).
Signal Flow
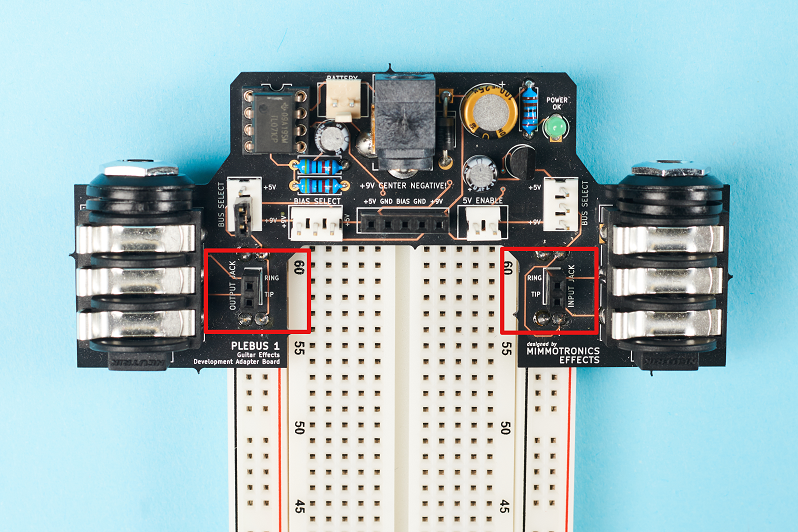
There are two (2) 1/4″ jacks on the Plebus 1 board: one is for the Input signal and the other is for the Output signal.
You can access the Input jack via jumper wire connections to the INPUT JACK header. Likewise for the Output jack.
Stereo effects can also be developed using the Plebus 1 by utilizing the “RING” connections on the I/O headers and TRS cables.
